How we can create a draggable/swipe slider using JS or any JS library? Solution: See this Swipe Testimonial Slider With Owl Carousel, JS Library Based Slider.
Previously I have shared a responsive testimonial slider with slick.js, but this program is based on a library that is powered by jQuery. Basically, Owl carousel is a touch-enabled jQuery plugin that lets you create a beautiful, responsive carousel slider. There are many dedicated libraries for creating sliders but some are popular like slick.js, owl-carousel, etc.
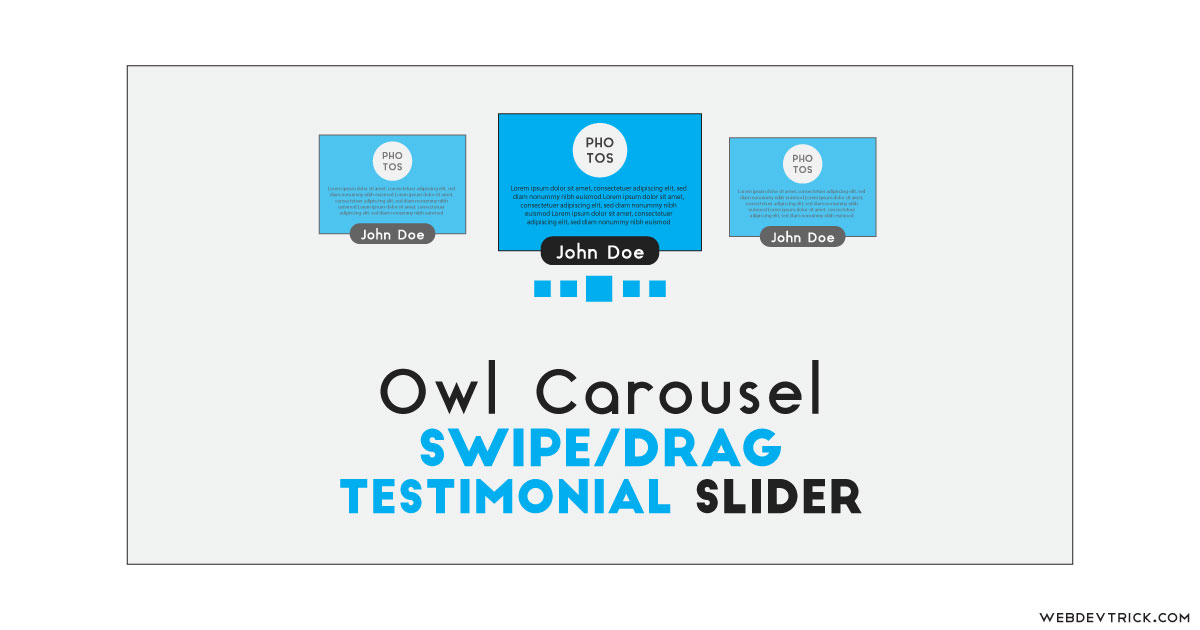
Today you will learn to create a draggable testimonial carousel with a jQuery plugin. Basically, there are 5 review sections with dummy content like name, image, etc. Each section contains an image, review text, and name with a shape like a name is placed on a rounded rectangle and the image is placed in a circle shape.
So, Today I am sharing Swipe Testimonial Slider With Owl Carousel. There I have used bootstrap for creating a responsive layout and owl carousel for creating the slider. The owl carousel is a jQuery plugin and jQuery is a JavaScript library, that’s why we can call this JS based program. You can use this program to creating a content slider on your website.
If you are thinking now how this review carousel actually is, then see the preview given below.
Preview Of Touch Enabled Slider With jQuery Plugin
See this video preview to getting an idea of how this testimonial slider looks like.
Now you can see this visually, also you can see it live by pressing the button given above. If you like this then get the source code of its.
You May Also Like:
Swipe Testimonial Slider With Owl Carousel Source Code
Before sharing source code, let’s talk a little bit about it. First I have created the layout which is based on a bootstrap grid system based, created a main section and placed row and column grid inside it. After that, I have paced 5 div for 5 different review sections, each div contains a div for a shadow effect, an image, a paragraph tag for review text, and another div for the name.
Now using CSS I have placed all the elements in the right place, as you can see in the preview. I gave style to elements like a shadow, color, position, etc. Inside the HTML tags, I have placed bootstrap‘s pre-built class name for the size on multiple screens. In CSS file I have heavily used transform command and gave max-width to some elements like image.
As you know this program is based on the owl carousel (info)so, the JS file has fewer lines of codes. In the JS file, I have created a function on document ready using (document).ready command. And placed values in pre-built commands which are created in the plugin like speed, autoplay, etc. Left all other things you will understand after getting the codes, I can’t explain all in writing.
For creating this program you have to create 3 files. Firs for the HTML, the second one is for CSS, and the third one is for javascript. Follow the steps to creating this without any error.
index.html
Create an HTML file named ‘index.html‘ and put these codes given below.
|
1 2 3 4 5 6 7 8 9 10 11 12 13 14 15 16 17 18 19 20 21 22 23 24 25 26 27 28 29 30 31 32 33 34 35 36 37 38 39 40 41 42 43 44 45 46 47 48 49 50 51 52 53 54 55 56 57 58 59 60 61 62 63 64 65 66 67 68 69 70 71 72 73 74 75 76 77 |
<!DOCTYPE html> <!-- Code By Webdevtrick ( https://webdevtrick.com ) --> <html lang="en" > <head> <meta charset="UTF-8"> <title>Testimonial Swipe Slider | Webdevtrick.com</title> <link rel="stylesheet" href="https://cdnjs.cloudflare.com/ajax/libs/normalize/5.0.0/normalize.min.css"> <link rel='stylesheet' href='https://maxcdn.bootstrapcdn.com/bootstrap/3.3.6/css/bootstrap.min.css'> <link rel='stylesheet' href='https://cdnjs.cloudflare.com/ajax/libs/OwlCarousel2/2.1.1/assets/owl.carousel.min.css'> <link rel='stylesheet' href='https://themes.audemedia.com/html/goodgrowth/css/owl.theme.default.min.css'> <link rel="stylesheet" href="style.css"> </head> <body> <section class="testimonials"> <div class="wrapper"> <div class="row"> <div class="col-sm-12"> <div id="testimonials-list" class="owl-carousel"> <div class="item"> <div class="shadow-effect"> <img class="imgPlaceholder" src="https://webdevtrick.com/wp-content/uploads/shaan.jpg" alt=""> <p>Lorem ipsum dolor sit amet, consectetur adipiscing elit. Vestibulum eget suscipit sem. Vivamus convallis vulputate leo non ultricies.</p> </div> <div class="testimonial-name">First Person</div> </div> <div class="item"> <div class="shadow-effect"> <img class="imgPlaceholder" src="https://webdevtrick.com/wp-content/uploads/shaan.jpg" alt=""> <p>Lorem ipsum dolor sit amet, consectetur adipiscing elit. Vestibulum eget suscipit sem. Vivamus convallis vulputate leo non ultricies.</p> </div> <div class="testimonial-name">Second Person</div> </div> <div class="item"> <div class="shadow-effect"> <img class="imgPlaceholder" src="https://webdevtrick.com/wp-content/uploads/shaan.jpg" alt=""> <p>Lorem ipsum dolor sit amet, consectetur adipiscing elit. Vestibulum eget suscipit sem. Vivamus convallis vulputate leo non ultricies.</p> </div> <div class="testimonial-name">Third Person</div> </div> <div class="item"> <div class="shadow-effect"> <img class="imgPlaceholder" src="https://webdevtrick.com/wp-content/uploads/shaan.jpg" alt=""> <p>Lorem ipsum dolor sit amet, consectetur adipiscing elit. Vestibulum eget suscipit sem. Vivamus convallis vulputate leo non ultricies.</p> </div> <div class="testimonial-name">Fourth Person</div> </div> <div class="item"> <div class="shadow-effect"> <img class="imgPlaceholder" src="https://webdevtrick.com/wp-content/uploads/shaan.jpg" alt=""> <p>Lorem ipsum dolor sit amet, consectetur adipiscing elit. Vestibulum eget suscipit sem. Vivamus convallis vulputate leo non ultricies.</p> </div> <div class="testimonial-name">Fifth Person</div> </div> </div> </div> </div> </div> </section> <script src='https://cdnjs.cloudflare.com/ajax/libs/jquery/2.2.2/jquery.min.js'></script> <script src='https://cdnjs.cloudflare.com/ajax/libs/OwlCarousel2/2.1.1/owl.carousel.min.js'></script> <script src="function.js"></script> </body> </html> |
style.css
Now create a CSS file named ‘style.css‘ and put these codes given here.
|
1 2 3 4 5 6 7 8 9 10 11 12 13 14 15 16 17 18 19 20 21 22 23 24 25 26 27 28 29 30 31 32 33 34 35 36 37 38 39 40 41 42 43 44 45 46 47 48 49 50 51 52 53 54 55 56 57 58 59 60 61 62 63 64 65 66 67 68 69 70 71 72 73 74 75 76 77 |
/* Code By Webdevtrick ( https://webdevtrick.com ) */ body { margin-top: 10%; } .shadow-effect { background: #fff; padding: 20px; border-radius: 4px; text-align: center; border:1px solid #ECECEC; box-shadow: 0 19px 38px rgba(0,0,0,0.10), 0 15px 12px rgba(0,0,0,0.02); } #testimonials-list .shadow-effect p { font-family: inherit; font-size: 17px; line-height: 1.5; margin: 0 0 17px 0; font-weight: 300; } .testimonial-name { margin: -17px auto 0; display: table; width: auto; background: #3190E7; padding: 9px 35px; border-radius: 12px; text-align: center; color: #fff; box-shadow: 0 9px 18px rgba(0,0,0,0.12), 0 5px 7px rgba(0,0,0,0.05); } #testimonials-list .item { text-align: center; padding: 50px; margin-bottom:80px; opacity: .2; -webkit-transform: scale3d(0.8, 0.8, 1); transform: scale3d(0.8, 0.8, 1); transition: all 0.3s ease-in-out; } #testimonials-list .owl-item.active.center .item { opacity: 1; -webkit-transform: scale3d(1.0, 1.0, 1); transform: scale3d(1.0, 1.0, 1); } .owl-carousel .owl-item img { -webkit-transform-style: preserve-3d; transform-style: preserve-3d; max-width: 90px; border-radius: 50%; margin: 0 auto 17px; } #testimonials-list.owl-carousel .owl-dots .owl-dot.active span, #testimonials-list.owl-carousel .owl-dots .owl-dot:hover span { background: #3190E7; -webkit-transform: translate3d(0px, -50%, 0px) scale(0.7); transform: translate3d(0px, -50%, 0px) scale(0.7); } #testimonials-list.owl-carousel .owl-dots{ display: inline-block; width: 100%; text-align: center; } #testimonials-list.owl-carousel .owl-dots .owl-dot{ display: inline-block; } #testimonials-list.owl-carousel .owl-dots .owl-dot span { background: #3190E7; display: inline-block; height: 20px; margin: 0 2px 5px; -webkit-transform: translate3d(0px, -50%, 0px) scale(0.3); transform: translate3d(0px, -50%, 0px) scale(0.3); -webkit-transform-origin: 50% 50% 0; transform-origin: 50% 50% 0; transition: all 250ms ease-out 0s; width: 20px; } |
function.js
The final step, Create a JavaScript file named ‘function.js‘ and put the codes.
|
1 2 3 4 5 6 7 8 9 10 11 12 13 14 15 16 17 18 19 20 21 22 23 24 25 |
// Code By Webdevtrick ( https://webdevtrick.com ) jQuery(document).ready(function($) { "use strict"; $('#testimonials-list').owlCarousel({ loop: true, center: true, items: 3, margin: 0, autoplay: true, dots:true, autoplayTimeout: 8500, smartSpeed: 450, responsive: { 0: { items: 1 }, 768: { items: 2 }, 1170: { items: 3 } } }); }); |
That’s It. Now you have successfully created Swipe Testimonial Slider With Owl Carousel, JS Library Based Slider. If you have any doubt or question then comment down below.
Thanks For Visiting, Keep Visiting.


thank you for slider
Hi shaan,
First thanks a lot for this post, it is too important.
Can you please show me how to add customised nav buttons (prev next) to this testimonial.
thanks
Hello,
First thanks a lot for this post, it is too important.
Can you please show me how to add customised nav buttons (prev next) to this testimonial.
thanks