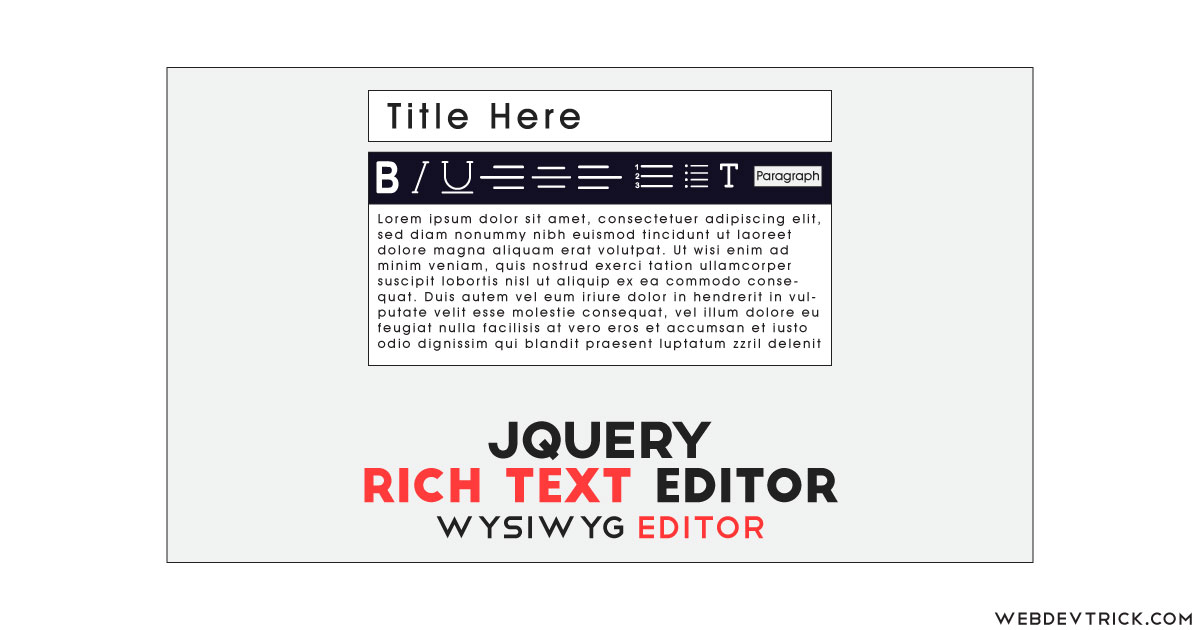
How we can create a basic WYSIWYG editor using JS or any JS library? Solution: See this jQuery WYSIWYG Editor With Basic Features, jQuery Rich Text Editor.
Earlier I have shared a JS Rich Text Editor program, but this is based on jQuery. Basically, WYSIWYG is an acronym for “what you see is what you get”. A WYSIWYG is a kind of editor or program which allows to see what the result will look like while document creating. This also known as Rich Text Editor on the web world, most of the website builders or CMS provides this editor to create content on a webpage.
Today you will learn to create jQuery Rich Text Editor. Basically, there is an editor with a modern look which we can see on WordPress or blogger but with few features. There is an input box for the title, and a text area box with multiple options like bold, italic, underline, list, align, etc. Also there are 2 select inputs for selecting a font or heading values. At the bottom, there are two buttons to save and clear.
So, Today I am sharing jQuery WYSIWYG Editor With Basic Features. There are few features but you can add more, once you get the concept. There I have used HTML to create the layout and pass some values, CSS for styling, and jQuery for functioning. You can use this on your website, if you have a user-management website. It will help the user to write or comment on the website.
If you are thinking now how this WYSIWYG editor actually is, then see the preview given below.
Preview Of Rich Text Editor
See this video preview to getting an idea about how this editor looks like.
Now you can see this program visually, also you can see it live by pressing the button given above. If you like this, then get the source code of its.
You May Also Like:
jQuery WYSIWYG Editor Source Code
Before sharing source code, let’s talk about it. First I have created the main div with class name ‘newPost’ and placed all the items inside it. Inside the main div, I have placed some buttons for values like bold, italic, underline, list, etc. And placed select option tags for choosing the font, and heading, paragraph, etc. After that, create another div for placing text, and two buttons for save and clear.
Now using CSS I have placed all the elements in the right place, as you can see in the preview. With CSS, first I gave basic values like size, position, margin, padding, etc to the inputs and other elements. There I have only styled the layout using CSS. For creating this a responsive design used @media query and reduced some element’s size on small screen.
jQuery update instantly and save/clear feature in this program. The HTML file contains most of the functions because I have placed values in the HTML values field. jQuery updating or showing data instantly when we choose an option. There is a local storage program to save editor data, and not making changes on refresh.
Left all other things you will understand after getting the codes, I can’t explain all in writing. For creating this program you have to create 3 files. First file for HTML, second for CSS, and the third file for JavaScript. Follow the steps to creating this program without any error.
index.html
Create an HTML file named ‘index.html‘ and put these codes given here.
|
1 2 3 4 5 6 7 8 9 10 11 12 13 14 15 16 17 18 19 20 21 22 23 24 25 26 27 28 29 30 31 32 33 34 35 36 37 38 39 40 41 42 43 44 45 46 47 48 49 50 51 52 53 54 55 56 57 58 59 60 61 62 63 64 65 66 67 68 69 70 71 72 73 |
<!DOCTYPE html> <!--Code By Webdevtrick ( https://webdevtrick.com )--> <html lang="en" > <head> <meta charset="UTF-8"> <title>jQuery WYSIWYG Editor | Webdevtrick.com</title> <link rel="stylesheet" href="https://cdnjs.cloudflare.com/ajax/libs/normalize/5.0.0/normalize.min.css"> <link rel='stylesheet' href='https://netdna.bootstrapcdn.com/font-awesome/4.0.3/css/font-awesome.css'> <script src="https://cdnjs.cloudflare.com/ajax/libs/prefixfree/1.0.7/prefixfree.min.js"></script> <link rel="stylesheet" href="./style.css"> </head> <body> <div class="newPost"> <h3>Add New Post</h3> <input type="text" placeholder="Enter title here"> <div class="toolbar"> <button type="button" data-func="bold"><i class="fa fa-bold"></i></button> <button type="button" data-func="italic"><i class="fa fa-italic"></i></button> <button type="button" data-func="underline"><i class="fa fa-underline"></i></button> <button type="button" data-func="justifyleft"><i class="fa fa-align-left"></i></button> <button type="button" data-func="justifycenter"><i class="fa fa-align-center"></i></button> <button type="button" data-func="justifyright"><i class="fa fa-align-right"></i></button> <button type="button" data-func="insertunorderedlist"><i class="fa fa-list-ul"></i></button> <button type="button" data-func="insertorderedlist"><i class="fa fa-list-ol"></i></button> <div class="customSelect"> <select data-func="fontname"> <optgroup label="Serif Fonts"> <option value="Bree Serif">Bree Serif</option> <option value="Georgia">Georgia</option> <option value="Palatino Linotype">Palatino Linotype</option> <option value="Times New Roman">Times New Roman</option> </optgroup> <optgroup label="Sans Serif Fonts"> <option value="Arial">Arial</option> <option value="Arial Black">Arial Black</option> <option value="Asap" selected>Asap</option> <option value="Comic Sans MS">Comic Sans MS</option> <option value="Impact">Impact</option> <option value="Lucida Sans Unicode">Lucida Sans Unicode</option> <option value="Tahoma">Tahoma</option> <option value="Trebuchet MS">Trebuchet MS</option> <option value="Verdana">Verdana</option> </optgroup> <optgroup label="Monospace Fonts"> <option value="Courier New">Courier New</option> <option value="Lucida Console">Lucida Console</option> </optgroup> </select> </div> <div class="customSelect"> <select data-func="formatblock"> <option value="h1">Heading 1</option> <option value="h2">Heading 2</option> <option value="h4">Subtitle</option> <option value="p" selected>Paragraph</option> </select> </div> </div> <div class="editor" contenteditable></div> <div class="buttons"> <button data-func="clear" type="button">clear</button> <button data-func="save" type="button">save</button> </div> </div> <script src='https://cdnjs.cloudflare.com/ajax/libs/jquery/2.1.3/jquery.min.js'></script> <script src="function.js"></script> </body> </html> |
style.css
Now create a CSS file named ‘style.css‘ and put these codes given here.
|
1 2 3 4 5 6 7 8 9 10 11 12 13 14 15 16 17 18 19 20 21 22 23 24 25 26 27 28 29 30 31 32 33 34 35 36 37 38 39 40 41 42 43 44 45 46 47 48 49 50 51 52 53 54 55 56 57 58 59 60 61 62 63 64 65 66 67 68 69 70 71 72 73 74 75 76 77 78 79 80 81 82 83 84 85 86 87 88 89 90 91 92 93 94 95 96 97 98 99 100 101 102 103 104 105 106 107 108 109 110 111 112 113 114 115 116 117 118 119 120 121 122 123 124 125 126 127 128 129 130 131 132 133 134 135 136 137 138 139 140 141 142 143 144 145 146 147 148 149 150 151 152 153 154 155 156 157 158 159 160 161 162 163 |
/* Code By Webdevtrick ( https://webdevtrick.com ) */ @import url(https://fonts.googleapis.com/css?family=Asap:400,700); @import url(https://fonts.googleapis.com/css?family=Bree+Serif&subset=latin-ext,latin); *, *:before, *:after { box-sizing: border-box; -webkit-font-smoothing: antialiased; -moz-osx-font-smoothing: greyscale; } body { background: #E9F0F4; } .newPost { margin: 50px auto; padding: 50px 40px; width: 100%; max-width: 800px; min-width: 480px; background: #FFF; font-family: 'Asap', sans-serif; } .newPost h3 { margin: 0px 0px 20px 0px; font-size: 30px; color: #2E3641; } .newPost input[type="text"] { padding-left: 15px; width: 100%; height: 45px; border: 1px solid #C1CFD9; box-shadow: inset 0px 0px 3px #C1CFD9; outline: none; font-family: 'Bree Serif', serif; font-size: 24px; color: #212121; margin-bottom: 20px; } .newPost .toolbar { background: #2E3641; } .newPost .toolbar button { float: left; width: 45px; height: 45px; background: #2E3641; border: none; border-right: 1px solid #434f5f; color: #C1CFD9; outline: none; } .newPost .toolbar button:hover { background: #394250; color: #b1c3cf; } .newPost .toolbar .customSelect { float: right; position: relative; } .newPost .toolbar .customSelect select { appearance: none; border-radius: 0; border: none; background: #2E3641; height: 45px; padding-left: 10px; padding-right: 25px; color: #C1CFD9; border-left: 1px solid #434f5f; outline: none; font-weight: bold; cursor: pointer; } .newPost .toolbar .customSelect select:hover { background: #394250; color: #b1c3cf; } .newPost .toolbar .customSelect:after { content: "\f0dc"; font-family: FontAwesome; color: #C1CFD9; position: absolute; right: 10px; top: 15px; } .newPost .toolbar:after { content: ''; display: block; clear: both; } .newPost .editor { min-height: 300px; width: 100%; resize: none; border: 1px solid #C1CFD9; box-shadow: inset 0px 0px 3px #C1CFD9; outline: none; padding: 15px; margin-bottom: 20px; position: relative; } .newPost .editor .saved { position: absolute; bottom: 0; right: 0; display: block; width: 45px; height: 45px; line-height: 45px; text-align: center; color: #FFF; text-transform: uppercase; background: #C1CFD9; font-weight: bold; border-top-left-radius: 15px; } .newPost .buttons { float: right; } .newPost .buttons button { float: left; width: 120px; height: 45px; border: none; color: #FFF; text-transform: uppercase; outline: none; margin-right: 20px; font-weight: bold; background: #C1CFD9; text-decoration: none; } .newPost .buttons button:last-of-type { margin-right: 0px; background: #ff4b4b; } .newPost .buttons button:last-of-type:hover { background: #ff2c2c; } .newPost .buttons button:active { box-shadow: inset 0px 4px rgba(0, 0, 0, 0.05); } .newPost .buttons button:hover { background: #d1dbe3; } .newPost .buttons:after { content: ''; display: block; clear: both; } .newPost:after { content: ''; display: block; clear: both; } @media (max-width:650px) { .newPost { padding: 15px 10px; width: 100%; min-width: 0; } } |
function.js
The last step, create a JavaScript file named ‘function.js‘ and put the codes.
|
1 2 3 4 5 6 7 8 9 10 11 12 13 14 15 16 17 18 19 20 21 22 23 24 25 26 27 28 29 30 31 32 |
// Code By Webdevtrick ( https://webdevtrick.com ) $('.newPost button[data-func]').click(function(){ document.execCommand( $(this).data('func'), false ); }); $('.newPost select[data-func]').change(function(){ var $value = $(this).find(':selected').val(); document.execCommand( $(this).data('func'), false, $value); }); if(typeof(Storage) !== "undefined") { $('.editor').keypress(function(){ $(this).find('.saved').detach(); }); $('.editor').html(localStorage.getItem("wysiwyg")) ; $('button[data-func="save"]').click(function(){ $content = $('.editor').html(); localStorage.setItem("wysiwyg", $content); $('.editor').append('<span class="saved"><i class="fa fa-check"></i></span>').fadeIn(function(){ $(this).find('.saved').fadeOut(500); }); }); $('button[data-func="clear"]').click(function(){ $('.editor').html(''); localStorage.removeItem("wysiwyg"); }); } |
That’s It. Now you have successfully created jQuery WYSIWYG Editor With Basic Features, jQuery Rich Text Editor Program. If you have any doubt or question comment down below.
Thanks For Visiting, Keep Visiting.


Bakery