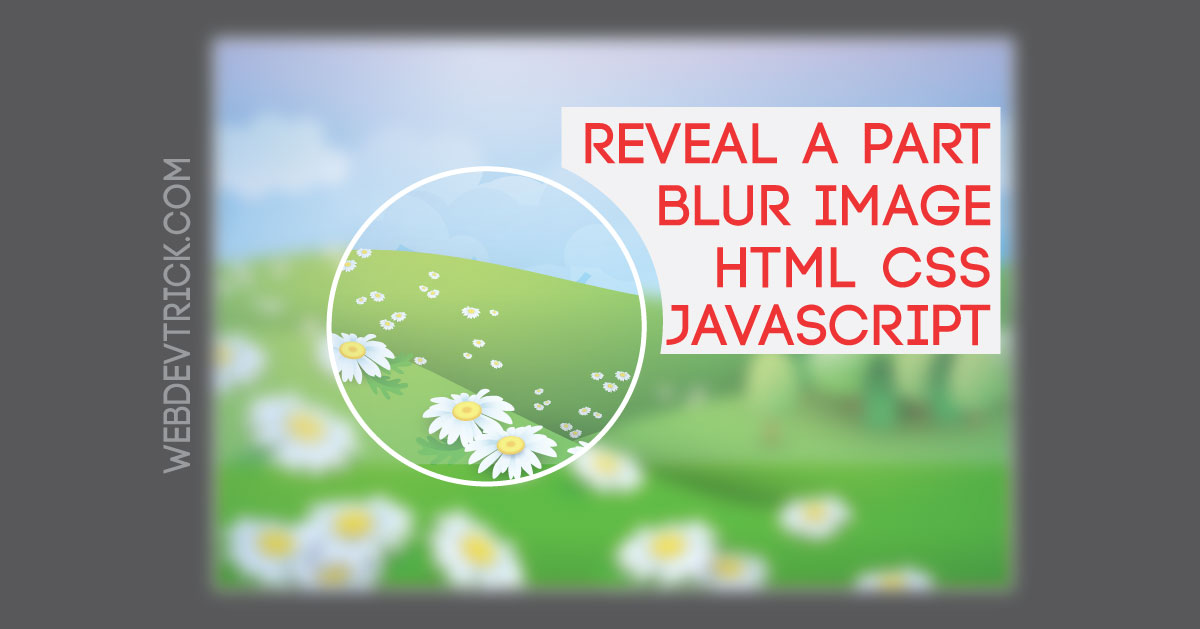
How to show or reveal a part of the blurred image? Solution: JavaScript Reveal Blur Image Part, Clear Area On Mouse Over.
I saw on a website a blurred image, but when I put the mouse cursor over the image a part of the image becomes clearly visible. Honestly, I surprised after seeing that effect. Then I start thinking about that, how this program made. Finally, I created that reveal blur images part program.
So, today I am sharing Reveal a part of a blurred image on mouse over program. I call that program JavaScript Reveal Blur Image Part. Basically, the concept is that Clear the specified area of the mouse on over blurred image. I used jQuery for creating this program, as you know jQuery is a JavaScript library so I am saying that is a javascript program.
First, I was thought that how I can create this effect, But after some times of trying finally created this. You will be surprised after knowing that how I created this, I used 2 images. You hear right, I used two images in this reveal part of the blurred image program. On first image I put an SVG blur effect, the second image I put on a circle. The circle appears on mouse hover.
If you thinking now how this revealing program actually is, then see this preview given here below.
Preview Of Clear Area On Mouse Over
See this video preview for getting an idea of how this program looks like.
Now you can clear this program visually. If you like this, the get the source code of this program.
You May Also Like:
- Text Animate On Scroll
- JavaScript Random Color Generator
- Animated Search Box HTML CSS JavaScript
- Animated Error 404 Page Design
JavaScript Reveal Blur Image Part Source Code
Before sharing source code, I want to say little bit about this program. I used HTML CSS and jQuery ( a javascript library ) for creating this program. This concept is that clear mouse over part of a blurred image. I used 2 images and a blur effect SVG for this program. The first image is blurred and second image inside a circle. The circle appears on mouse over. You can increase and decrease the size of the circle.
Also, you can adjust the position of the circle. This is a pretty good effect, you can use this on our website after getting the code.
For creating this program you have to create 3 files. First for HTML, second for CSS, & third for JavaScript. Follow the steps for creating this without any error.
index.html
Create an HTML file named ‘index.html‘ and put these codes given here below.
|
1 2 3 4 5 6 7 8 9 10 11 12 13 14 15 16 17 18 19 20 21 22 23 24 25 |
<!doctype html> <!-- code by webdevtrick ( https://webdevtrick.com ) --> <html> <head> <meta charset="utf-8"> <title>Blur Image Reveal Part | Webdevtrick.com</title> <script src="https://code.jquery.com/jquery-3.4.1.min.js"></script> <link href="style.css" rel="stylesheet" > </head> <body> <div class="pic"> <svg class="blur" xmlns="http://www.w3.org/2000/svg" xmlns:xlink="http://www.w3.org/1999/xlink" width="100%"> <image filter="url(#filter2)" xlink:href="https://images.pexels.com/photos/249798/pexels-photo-249798.png" width="100%" height="100%"></image> <filter id="filter2"> <fegaussianblur stdDeviation="5" /> </filter> <mask id="mask1"> <circle cx="-50%" cy="-50%" r="80" fill="white" filter="url(#filter2)" /> </mask> <image xlink:href="https://images.pexels.com/photos/249798/pexels-photo-249798.png" width="100%" height="100%" mask="url(#mask1)"></image> </svg> </div> <script src="function.js" ></script> </body> </html> |
style.css
Now create a CSS file named ‘style.css‘ and put these codes.
|
1 2 3 4 5 6 7 8 9 10 11 12 13 14 15 16 17 18 |
/** code by webdevtrick ( https://webdevtrick.com ) **/ body { margin:0; } .pic { text-align: center; position: relative; height:600px; } .blur { height: 100%; } .overlay { position: absolute; top: 0px; left: 0px; height: 100%; } |
function.js
The final thing, Create a JS file named ‘function.js‘ and put the codes.
|
1 2 3 4 5 6 7 8 9 |
/** code by webdevtrick ( https://webdevtrick.com ) **/ $('.pic').mousemove(function (event) { event.preventDefault(); var upX = event.clientX; var upY = event.clientY; var mask = $('#mask1 circle')[0]; mask.setAttribute("cy", (upY - 5) + 'px'); mask.setAttribute("cx", (upX) + 'px'); }); |
That’s It. Now you have successfully created JavaScript Reveal Blur Image Part program. In other words, Clear Area On Mouse Over program. If you have any doubt or question comment down below.
Thanks For Visiting, Keep Visiting.


What are these attributes mask and filter??
Mask
what is the overlay for if you dont use it?
This code is not compatible in all resolution.