

How we can create an automatic image slider using HTML, CSS, & JavaScript? Solution: See this JavaScript Image Slider With HTML CSS, jQuery Automatic Slide.
I am sure that you have seen many image sliders before. Basically, most people use two types of slider, some are with simple images & others are images with info texts. Nowadays sliders are compulsory actually, slider attracts users. Slider highlights the services that you want to show the users.
Today you will see an automatic running slider using jQuery. jQuery is a JavaScript library that’s why I am putting this on JS category. Previously I shared a basic slider using HTML & CSS, but this time I am sharing an advance one. This is a fully featured slider with previous and next buttons. It is a just Image slider, I did not use text over images.
So, Today I am sharing JavaScript Image Slider With HTML CSS. A jQuery Automatic slider with buttons and navigation icons. This also has a responsive design, so its fit on every screen size. You can use it on your website because it is very easy to modify.
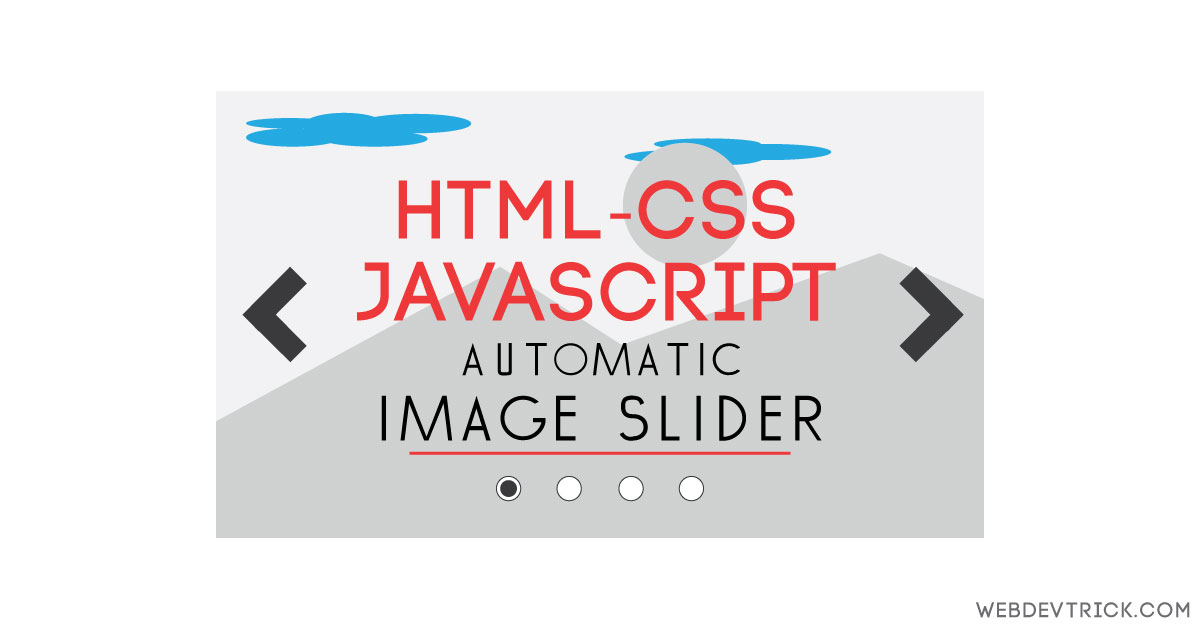
If you are thinking now how this slider actually is, then see the preview given below.
Preview Of Responsive jQuery Automatic Slider
See this video preview to get an idea of how this slider looks like.

Now you can see this automatic slider visually. If you like this, then get the source code of its.
You May Also Like:
- Newsletter Signup Form With Validation
- JavaScript Scroll To Top
- Reveal a Part Of Blurred Image
- Detect Keycode On Keypress Event
JavaScript Image Slider Source Code
Before sharing source code, let’s talk about it. As you know I created it using jQuery which is a JavaScript library. Also, I used HTML, CSS & font-awesome (get) library for creating next and previous buttons. I create 6 li for images and 6 li for showing navigation. Basically, we are using 5 images & take 6th li for repeating the first.
I used CSS @media property for creating it responsive. In the CSS section, we put images and their posting, height & width, etc. In the JavaScript section, we do the work of the main function of the slide. First, created variable to do it easily. Then I created many functions like slide after some mil-second. & start from the first image after ending of the slider, functions of previous and next buttons, etc.
I can explain the JS section in writing, I am planning to create videos of coding soon. I know after getting the code you will understand how this function working. For creating this program you have to create 3 files. First for HTML, second for CSS, & third for JS. Follow the steps to creating it without any error.
index.html
Create an HTML file named ‘index.html‘ and put these codes given below.
|
1 2 3 4 5 6 7 8 9 10 11 12 13 14 15 16 17 18 19 20 21 22 23 24 25 26 27 28 29 30 31 32 33 34 35 36 37 38 39 40 |
<!DOCTYPE html> <!-- code by webdevtrick ( https://webdevtrick.com ) --> <html> <head> <meta charset="utf-8" /> <title>Autoplay Slider With HTML CSS JS | Webdevtrick.com</title> <link rel="stylesheet" href="https://maxcdn.bootstrapcdn.com/font-awesome/4.6.3/css/font-awesome.min.css" /> <link rel="stylesheet" href="style.css" /> </head> <body> <div class="main"> <div class="slider"> <ul class="slider-parent"> <li class="images-list" data-slider="1"></li> <li class="images-list" data-slider="2"></li> <li class="images-list" data-slider="3"></li> <li class="images-list" data-slider="4"></li> <li class="images-list" data-slider="5"></li> <li class="images-list" data-slider="6"></li> </ul> <ol class="buttom-circles"> <li class="buttom-circles-list slider-active" data-slider="1"><i class="fa fa-circle-thin"></i></li> <li class="buttom-circles-list" data-slider="2"><i class="fa fa-circle-thin"></i></li> <li class="buttom-circles-list" data-slider="3"><i class="fa fa-circle-thin"></i></li> <li class="buttom-circles-list" data-slider="4"><i class="fa fa-circle-thin"></i></li> <li class="buttom-circles-list" data-slider="5"><i class="fa fa-circle-thin"></i></li> <li class="buttom-circles-list" data-slider="6"></li> </ol> <i class="fa fa-chevron-right fa-5x"></i> <i class="fa fa-chevron-left fa-5x"></i> </div> </div> <script src="https://cdnjs.cloudflare.com/ajax/libs/jquery/1.12.4/jquery.min.js"></script> <script src="function.js"></script> </body> </html> |
style.css
Now create a CSS file named ‘style.css‘ and put these codes.
|
1 2 3 4 5 6 7 8 9 10 11 12 13 14 15 16 17 18 19 20 21 22 23 24 25 26 27 28 29 30 31 32 33 34 35 36 37 38 39 40 41 42 43 44 45 46 47 48 49 50 51 52 53 54 55 56 57 58 59 60 61 62 63 64 65 66 67 68 69 70 71 72 73 74 75 76 77 78 79 80 81 82 |
/** code by webdevtrick ( https://webdevtrick.com ) **/ * { box-sizing: border-box; margin: 0; padding: 0 } body { margin-top: 5%; } ul, ol { list-style: none } .main { width: 75%; margin: auto; overflow: hidden; color: #fff } .slider { position: relative } .slider .slider-parent { padding: 0; display: flex } .slider .slider-parent .images-list { background-size: cover; } .slider .slider-parent .images-list:first-of-type, .slider .slider-parent .images-list:last-of-type { background-image: url(https://images.pexels.com/photos/462146/pexels-photo-462146.jpeg) } .slider .slider-parent .images-list:nth-of-type(2) { background-image: url(https://images.pexels.com/photos/268261/pexels-photo-268261.jpeg) } .slider .slider-parent .images-list:nth-of-type(3) { background-image: url(https://images.pexels.com/photos/1107717/pexels-photo-1107717.jpeg) } .slider .slider-parent .images-list:nth-of-type(4) { background-image: url(https://images.pexels.com/photos/248797/pexels-photo-248797.jpeg) } .slider .slider-parent .images-list:nth-of-type(5) { background-image: url(https://images.pexels.com/photos/462162/pexels-photo-462162.jpeg) } .slider .buttom-circles { position: absolute; transform: translate(-50%, -50%); left: 50%; bottom: 10px } .slider .buttom-circles .buttom-circles-list { display: inline-block } .slider .buttom-circles .buttom-circles-list:hover .fa:before, .slider .buttom-circles .buttom-circles-list.slider-active .fa:before { content: "\f111"; } .slider > .fa { position: absolute; top: 45% } .slider > .fa:first-of-type { right: 5px} .slider > .fa:last-of-type { left: 5px} .slider .fa { text-shadow: 5px 5px 5px #555; cursor: pointer } @media(min-width: 100px) and (max-width: 767px) { .slider > .fa { font-size: 25px } .slider .buttom-circles .buttom-circles-list { visibility: hidden } } @media(min-width: 768px) and (max-width: 991px) { .slider > .fa { font-size: 50px } .slider .buttom-circles .buttom-circles-list { visibility: hidden } } @media(min-width: 992px) and (max-width: 1199px) { .slider > .fa { font-size: 75px } .slider .buttom-circles .buttom-circles-list { font-size: 17px } } @media(min-width: 1200px) { .slider > .fa { font-size: 100px } .slider .buttom-circles .buttom-circles-list { font-size: 25px } } |
function.js
The final step, Create a JS file named ‘function.js‘ and put the codes.
|
1 2 3 4 5 6 7 8 9 10 11 12 13 14 15 16 17 18 19 20 21 22 23 24 25 26 27 28 29 30 31 32 33 34 35 36 37 38 39 40 41 42 43 44 45 46 47 48 49 50 51 52 53 54 55 56 57 58 59 60 61 62 63 64 65 66 67 68 69 70 71 72 73 74 75 76 77 78 79 80 81 82 83 84 85 86 87 88 89 90 91 92 93 94 95 96 97 98 99 |
/** code by webdevtrick ( https://webdevtrick.com ) **/ $(function () { "use strict"; var slider = $('.slider'), sliderUl = slider.find('.slider-parent'), sliderUlLi = sliderUl.find('.images-list'), sliderOl = slider.find('.buttom-circles'), sliderOlLi = sliderOl.find('.buttom-circles-list'), sliderFaRight = slider.find('> .fa:first-of-type'), sliderFaLeft = slider.find('> .fa:last-of-type'), sliderTime = 1000, sliderWait = 2000, sliderSetInt, resumeAndPause; sliderFaLeft.fadeOut(); function resetWH() { slider.width(slider.parent().width()).height(slider.parent().width() * 0.5); sliderUl.width(slider.width() * sliderUlLi.length).height(slider.height()); sliderUlLi.width(slider.width()).height(slider.height()); } resetWH(); function runSlider() { if (sliderOlLi.hasClass('slider-active')) { sliderUl.animate({ marginLeft: -slider.width() * ($('.slider-active').data('slider') - 1) }, sliderTime); } if ($('.slider-active').is(':first-of-type')) { sliderFaLeft.fadeOut(); } else { sliderFaLeft.fadeIn(); } if ($('.slider-active').next().is(':last-of-type')) { sliderFaRight.fadeOut(); } else { sliderFaRight.fadeIn(); } } function runRight() { slider.each(function () { $('.slider-active').next().addClass('slider-active').siblings().removeClass('slider-active'); runSlider(); }); } function runLeft() { slider.each(function () { $('.slider-active').prev().addClass('slider-active').siblings().removeClass('slider-active'); runSlider(); }); } sliderSetInt = function autoRunSlider() { if ($('.slider-active').next().is(':last-of-type')) { sliderUl.animate({ marginLeft: -sliderUlLi.width() * $('.slider-active').data('slider') }, sliderTime, function () { sliderUl.css('margin-left', 0); sliderOlLi.first().addClass('slider-active').siblings().removeClass('slider-active'); }); } else { runRight(); } }; resumeAndPause = setInterval(sliderSetInt, sliderWait); $(window).on('resize', function () { resetWH(); }); slider.each(function () { sliderOlLi.click(function () { $(this).addClass('slider-active').siblings().removeClass('slider-active'); runSlider(); }); }); sliderFaRight.on('click', function () { runRight(); }); sliderFaLeft.on('click', function () { runLeft(); }); slider.find('.fa').hover(function () { clearInterval(resumeAndPause); }, function () { resumeAndPause = setInterval(sliderSetInt, sliderWait); }); }); |
That’s It. Now you have successfully created JavaScrip Image Slider with the autoplay feature. In other words, Responsive HTML CSS & jQuery auto-playing slider. If you have any doubt or question comment down below.
Thanks For Visiting, Keep Visiting.


How many money earn in single article.
Plzz tell me
Thank you for this, it was useful.
How to slide change the direction of slider from “right to left” to “left to right” ???
How can i increase the height ?
Image is not showing totally
Hi Brues.
Exactly my issue.
Image is not showing totally.
Thanks For Good Information but how we can do off the auto system.