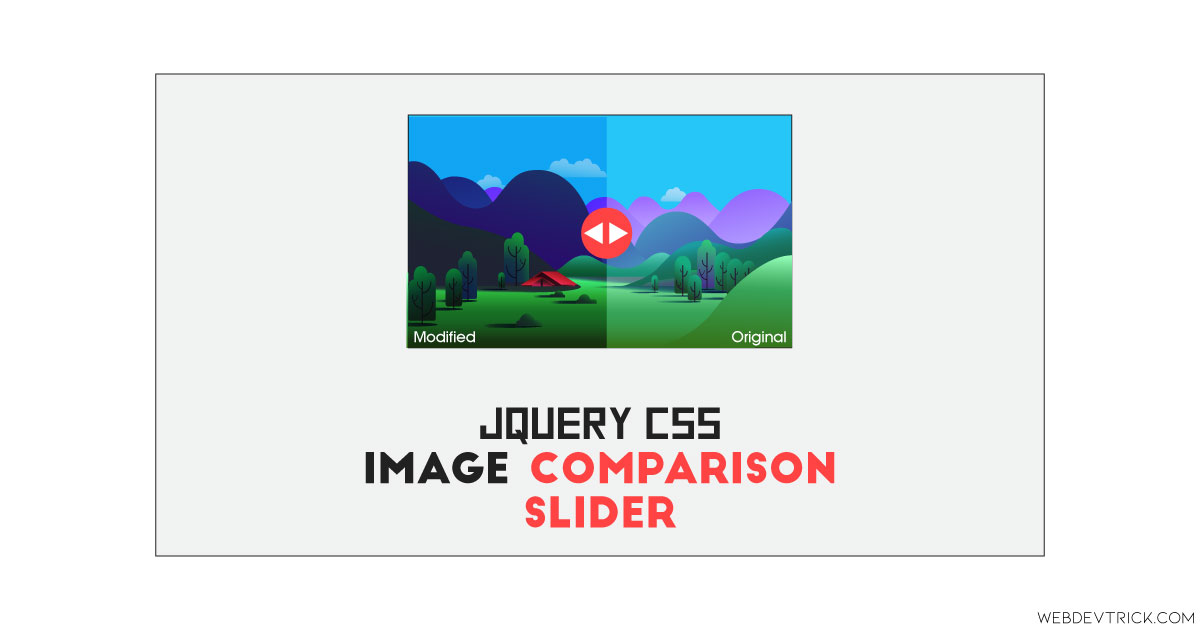
How we can create a compare slider for the image using JS or any JS library? Solution: Check out this Image Comparison Slide Using jQuery and CSS, Image Compare Slider.
Previously I have shared a Before and After Image slider, this is also similar to that but it is an advanced one and it’s based on jQuery. Basically, an image comparison slider used for comparing two images using a splitter slide handle. It helps to compare before/after or original/modified images easily. This type of compare slider used on editing websites and image compress websites.
Today you will learn to create an Image Compare Slider. Basically, there is a box with two images, a slider handle, and some texts. Middle of the box, there is placed the slider handle for drag and slide. On the left side this is a modified image with text “modified” and on the right side is the original image with text “original”. When when will drag handle and start slide then on part’s width will increase according to your slider direction.
So, Today I am sharing Image Comparison Slide Using jQuery and CSS. There I have used CSS for styling and jQuery for functioning, also jQuery modified CSS values to execute the result on the action. This is a complete program and ready to use on any kind of website. You can use this program after image modification or backend integration.
If you are thinking now how this image compares slider actually is, then see the preview given below.
Preview Of Image Compare Slider
See this video preview to getting an idea of how this comparing slider looks like.
Now you can see this program visually, Also you can see it live by pressing the button given above. If you like this, then get the source code of its.
You May Also Like:
Image Comparison Slide Using jQuery and CSS Source Code
Before sharing source code, let’s talk about it. First I have created a figure using HTML <figure> tag and placed all elements inside the tag. Inside the figure tag, I have placed an IMG tag for the original image, a span for text, a div with span for modified image and text, and another span to place the handle. Also in the HTML file, I have linked other files like CSS, JS, and jQuery CDN.
Now using CSS I have placed all the items in the right place, as you can see in the preview. For placing the second modified image and the slider handle I have used CSS background-image: command and gave IMG URL. There I have used transition command for smooth animation effects. And used CSS @keyframe command to create the animation effects.
jQuery handling here all features of the program by modifying HTML and CSS values dynamically. I have used HTML Data-* attribute to store custom data and pass in the JS file. There I have used JS if{} else{} commands and adding/removing CSS class names according to action. Also, I have used jQuery dragElement and resizeElement commands to create the program.
Left all other things you will understand after getting the codes, I can’t explain all in writing. For creating this program you have to create 3 files. First file for HTML, second file for CSS, and the third file for JavaScript. Follow the steps to creating this program without any error.
index.html
Create an HTML file named ‘index.html‘ and put these codes given here.
|
1 2 3 4 5 6 7 8 9 10 11 12 13 14 15 16 17 18 19 20 21 22 23 24 25 26 27 28 |
<!DOCTYPE html> <!-- Code By Webdevtrick ( https://webdevtrick.com ) --> <html lang="en" > <head> <meta charset="UTF-8"> <title>Image Comparison Slider | Webdevtrick.com</title> <script src="https://cdnjs.cloudflare.com/ajax/libs/modernizr/2.8.3/modernizr.min.js" type="text/javascript"></script> <link href='https://fonts.googleapis.com/css?family=Open+Sans:400,300,700' rel='stylesheet' type='text/css'> <link rel="stylesheet" href="https://cdnjs.cloudflare.com/ajax/libs/meyer-reset/2.0/reset.min.css"> <link rel="stylesheet" href="./style.css"> </head> <body> <figure class="image-container"> <img src="https://webdevtrick.com/wp-content/uploads/skynature.jpg" alt="Original Image"> <span class="image-label" data-type="original">Original</span> <div class="resize-image"> <span class="image-label" data-type="modified">Modified</span> </div> <span class="handle"></span> </figure> <script src='https://cdnjs.cloudflare.com/ajax/libs/jquery/2.1.3/jquery.min.js'></script> <script src="function.js"></script> </body> </html> |
style.css
Now create a CSS file named ‘style.css‘ and put these codes given here.
|
1 2 3 4 5 6 7 8 9 10 11 12 13 14 15 16 17 18 19 20 21 22 23 24 25 26 27 28 29 30 31 32 33 34 35 36 37 38 39 40 41 42 43 44 45 46 47 48 49 50 51 52 53 54 55 56 57 58 59 60 61 62 63 64 65 66 67 68 69 70 71 72 73 74 75 76 77 78 79 80 81 82 83 84 85 86 87 88 89 90 91 92 93 94 95 96 97 98 99 100 101 102 103 104 105 106 107 108 109 110 111 112 113 114 115 116 117 118 119 120 121 122 123 124 125 126 127 128 129 130 131 132 133 134 135 136 137 138 139 140 141 142 143 144 145 146 147 148 149 150 151 152 153 154 155 156 157 158 159 160 161 162 163 164 165 166 167 168 169 170 171 172 173 174 175 176 177 178 179 180 181 182 183 184 185 186 187 |
/* Code By Webdevtrick ( https://webdevtrick.com ) */ *, *:after, *:before { -webkit-box-sizing: border-box; -moz-box-sizing: border-box; box-sizing: border-box; } body { font-size: 100%; font-family: "Open Sans", sans-serif; color: #445b7c; background-color: #445b7c; } a { color: #dc717d; text-decoration: none; } img { max-width: 100%; } header { position: relative; height: 160px; line-height: 160px; text-align: center; } header h1 { font-size: 22px; font-size: 1.375rem; color: #ffffff; font-weight: 300; -webkit-font-smoothing: antialiased; -moz-osx-font-smoothing: grayscale; } @media only screen and (min-width: 768px) { header { height: 240px; line-height: 240px; } header h1 { font-size: 32px; font-size: 2rem; } } .image-container { position: relative; width: 90%; max-width: 768px; margin: 2em auto; } .image-container img { display: block; } @media only screen and (min-width: 768px) { .image-container { margin: 4em auto; } } .image-label { position: absolute; bottom: 0; right: 0; color: #ffffff; padding: 1em; -webkit-font-smoothing: antialiased; -moz-osx-font-smoothing: grayscale; opacity: 0; -webkit-transform: translateY(20px); -moz-transform: translateY(20px); -ms-transform: translateY(20px); -o-transform: translateY(20px); transform: translateY(20px); -webkit-transition: -webkit-transform 0.3s 0.7s, opacity 0.3s 0.7s; -moz-transition: -moz-transform 0.3s 0.7s, opacity 0.3s 0.7s; transition: transform 0.3s 0.7s, opacity 0.3s 0.7s; } .image-label.is-hidden { visibility: hidden; } .is-visible .image-label { opacity: 1; -webkit-transform: translateY(0); -moz-transform: translateY(0); -ms-transform: translateY(0); -o-transform: translateY(0); transform: translateY(0); } .resize-image { position: absolute; top: 0; left: 0; width: 0; height: 100%; overflow: hidden; background: url("https://webdevtrick.com/wp-content/uploads/skynaturemod.jpg") no-repeat left top; background-size: auto 100%; -webkit-transform: translateZ(0); -moz-transform: translateZ(0); -ms-transform: translateZ(0); -o-transform: translateZ(0); transform: translateZ(0); -webkit-backface-visibility: hidden; backface-visibility: hidden; } .resize-image .image-label { right: auto; left: 0; } .is-visible .resize-image { width: 50%; -webkit-animation: cd-bounce-in 0.7s; -moz-animation: cd-bounce-in 0.7s; animation: cd-bounce-in 0.7s; } @-webkit-keyframes cd-bounce-in { 0% { width: 0; } 60% { width: 55%; } 100% { width: 50%; } } @-moz-keyframes cd-bounce-in { 0% { width: 0; } 60% { width: 55%; } 100% { width: 50%; } } @keyframes cd-bounce-in { 0% { width: 0; } 60% { width: 55%; } 100% { width: 50%; } } .handle { position: absolute; height: 44px; width: 44px; left: 50%; top: 50%; margin-left: -22px; margin-top: -22px; border-radius: 50%; background: #dc717d url("https://webdevtrick.com/wp-content/uploads/arrows.svg") no-repeat center center; cursor: move; box-shadow: 0 0 0 6px rgba(0, 0, 0, 0.2), 0 0 10px rgba(0, 0, 0, 0.6), inset 0 1px 0 rgba(255, 255, 255, 0.3); opacity: 0; -webkit-transform: translate3d(0, 0, 0) scale(0); -moz-transform: translate3d(0, 0, 0) scale(0); -ms-transform: translate3d(0, 0, 0) scale(0); -o-transform: translate3d(0, 0, 0) scale(0); transform: translate3d(0, 0, 0) scale(0); } .handle.draggable { background-color: #445b7c; } .is-visible .handle { opacity: 1; -webkit-transform: translate3d(0, 0, 0) scale(1); -moz-transform: translate3d(0, 0, 0) scale(1); -ms-transform: translate3d(0, 0, 0) scale(1); -o-transform: translate3d(0, 0, 0) scale(1); transform: translate3d(0, 0, 0) scale(1); -webkit-transition: -webkit-transform 0.3s 0.7s, opacity 0s 0.7s; -moz-transition: -moz-transform 0.3s 0.7s, opacity 0s 0.7s; transition: transform 0.3s 0.7s, opacity 0s 0.7s; } |
function.js
The final step, create a JavaScript file named ‘function.js‘ and put the codes.
|
1 2 3 4 5 6 7 8 9 10 11 12 13 14 15 16 17 18 19 20 21 22 23 24 25 26 27 28 29 30 31 32 33 34 35 36 37 38 39 40 41 42 43 44 45 46 47 48 49 50 51 52 53 54 55 56 57 58 59 60 61 62 63 64 65 66 67 68 69 70 71 72 73 74 75 76 77 78 79 80 |
// Code By Webdevtrick ( https://webdevtrick.com ) jQuery(document).ready(function($){ //check if the .image-container is in the viewport //if yes, animate it checkPosition($('.image-container')); $(window).on('scroll', function(){ checkPosition($('.image-container')); }); //make the .handle element draggable and modify .resize-image width according to its position drags($('.handle'), $('.resize-image'), $('.image-container'), $('.image-label[data-type="original"]'), $('.image-label[data-type="modified"]')); //upadate images label visibility $(window).on('resize', function(){ updateLabel($('.image-label[data-type="modified"]'), $('.resize-image'), 'left'); updateLabel($('.image-label[data-type="original"]'), $('.resize-image'), 'right'); }); }); function checkPosition(container) { if( $(window).scrollTop() + $(window).height()*0.5 > container.offset().top) { container.addClass('is-visible'); //you can uncomment the following line if you don't have other events to bind to the window scroll // $(window).off('scroll'); } } //draggable funtionality function drags(dragElement, resizeElement, container, labelContainer, labelResizeElement) { dragElement.on("mousedown vmousedown", function(e) { dragElement.addClass('draggable'); resizeElement.addClass('resizable'); var dragWidth = dragElement.outerWidth(), xPosition = dragElement.offset().left + dragWidth - e.pageX, containerOffset = container.offset().left, containerWidth = container.outerWidth(), minLeft = containerOffset + 10, maxLeft = containerOffset + containerWidth - dragWidth - 10; dragElement.parents().on("mousemove vmousemove", function(e) { leftValue = e.pageX + xPosition - dragWidth; //constrain the draggable element to move inside his container if(leftValue < minLeft ) { leftValue = minLeft; } else if ( leftValue > maxLeft) { leftValue = maxLeft; } widthValue = (leftValue + dragWidth/2 - containerOffset)*100/containerWidth+'%'; $('.draggable').css('left', widthValue).on("mouseup vmouseup", function() { $(this).removeClass('draggable'); resizeElement.removeClass('resizable'); }); $('.resizable').css('width', widthValue); updateLabel(labelResizeElement, resizeElement, 'left'); updateLabel(labelContainer, resizeElement, 'right'); }).on("mouseup vmouseup", function(e){ dragElement.removeClass('draggable'); resizeElement.removeClass('resizable'); }); e.preventDefault(); }).on("mouseup vmouseup", function(e) { dragElement.removeClass('draggable'); resizeElement.removeClass('resizable'); }); } function updateLabel(label, resizeElement, position) { if(position == 'left') { ( label.offset().left + label.outerWidth() < resizeElement.offset().left + resizeElement.outerWidth() ) ? label.removeClass('is-hidden') : label.addClass('is-hidden') ; } else { ( label.offset().left > resizeElement.offset().left + resizeElement.outerWidth() ) ? label.removeClass('is-hidden') : label.addClass('is-hidden') ; } } |
That’s It. Now you have successfully created Image Comparison Slide Using jQuery and CSS, Image Compare Slider. If you have any doubt or question comment down below.
Thanks For Visiting, Keep Visiting.


hey!
I’ve tried it. It’s an amazing slider but unfortunately, it doesn’t work on mobile (tried on android).
Is it me or it’s because of the code that is just not able to work on mobile?
Kindly
Great!