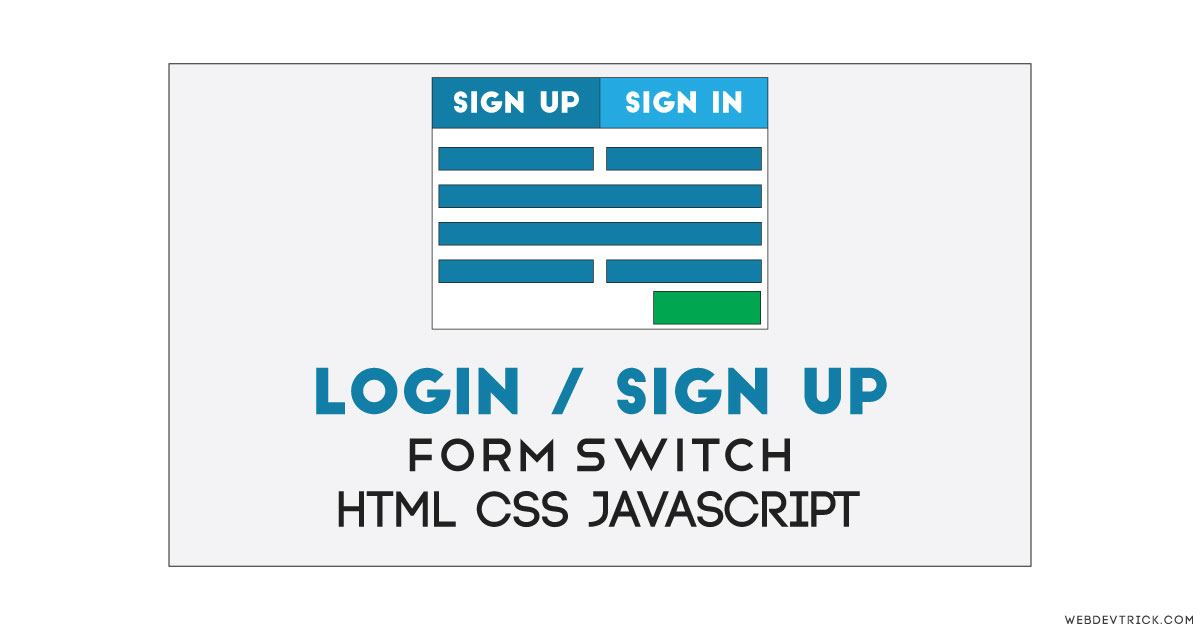
How we can create a switchable form that contains login and signup both field? Solution: Check out this HTML Login and Signup Form With CSS JavaScript, Switch Between.
Previously I have shared some types of login forms, but this is a combo of login and sign up. Forms are everywhere, every type of blog websites use forms for multipurpose. HTML 5 form contains form elements like input elements, like text fields, checkboxes, radio buttons, submit buttons, and more.
Today you will learn to create Switchable form field for switching sign up and log in. There is only a section with two forms, on the top you can see navigation for switch between the forms. There are placeholders that switch downside of input when it is active, like out input label animation program.
So, Today I am sharing HTML Login and Signup Form With CSS JavaScript. In there I have used jQuery, as you know jQuery is JS library that’s why I am calling this a JavaScript program. You can place this form on your website, and customization is so easy. Also, it has a responsive design because of its small size.
If you are thinking now how this login/signup form actually is, then see the preview given below.
Preview Of Switch Login/Signup
See this video preview to getting an idea of how this switchable form looks like.
Now you can see this visually, you also can see it live by pressing the button given above. If you like this, then get the source code of its.
You May Also Like:
- Nested List Dropdown With Sublists
- JavaScript Copy To Clipboard
- Countdown Timer Using JS
- HTML CSS Image Hover Effects
HTML Login and Signup Form With CSS JavaScript Source Code
Before sharing source code, let’s talk about it. First I have created two different HTML forms inside a div, and put another two divs for two forms. Inside the form I have used many types of inputs like text, email, password, submit, etc (info). And also placed labels for showing info and as a placeholder also.
Now using CSS, I have placed all the element on the right place. I have done so many works using CSS, like margin, padding, height, width, font, etc. For fonts, I have used a google font and placed its link in HTML file. All CSS codes are basics, there are not any tough code, and for the small screen, I have reduced the padding, margin, font-size using CSS @keyframe.
As you know I am using jQuery for easy and fast work. Basically there I have created some class and their values in the CSS file, JS just adds and removes those class according to action. And also its help to switch between two forms, also there its remove the and active a class inside the elements.
Left all other things you will understand after getting the codes, I can’t explain all in writing. For creating this program you have to create 3 files. First for HTML, second for CSS, and third for JavaScript. Follow the steps to creating this without any error.
index.html
Create an HTML file named ‘index.html‘ and put these codes given below.
|
1 2 3 4 5 6 7 8 9 10 11 12 13 14 15 16 17 18 19 20 21 22 23 24 25 26 27 28 29 30 31 32 33 34 35 36 37 38 39 40 41 42 43 44 45 46 47 48 49 50 51 52 53 54 55 56 57 58 59 60 61 62 63 64 65 66 67 68 69 70 71 72 73 74 75 76 77 78 79 80 81 82 83 84 85 86 87 88 89 90 91 92 93 94 95 96 |
<!DOCTYPE html> <!-- Code By Webdevtrick ( https://webdevtrick.com )--> <html lang="en" > <head> <meta charset="UTF-8"> <title>Sign-Up/Login Form</title> <link href="https://fonts.googleapis.com/css?family=Manjari&display=swap" rel="stylesheet"> <link rel="stylesheet" href="https://cdnjs.cloudflare.com/ajax/libs/normalize/5.0.0/normalize.min.css"> <link rel="stylesheet" href="style.css"> </head> <body> <div class="form"> <ul class="top-area"> <li class="tab active"><a href="#signup">Sign Up</a></li> <li class="tab"><a href="#login">Log In</a></li> </ul> <div class="tab-content"> <div id="signup"> <h1>Sign Up for Free</h1> <form action="/" method="post"> <div class="top-row"> <div class="label-field"> <label> First Name<span class="req">*</span> </label> <input type="text" required autocomplete="off" /> </div> <div class="label-field"> <label> Last Name<span class="req">*</span> </label> <input type="text"required autocomplete="off"/> </div> </div> <div class="label-field"> <label> Email Address<span class="req">*</span> </label> <input type="email"required autocomplete="off"/> </div> <div class="label-field"> <label> Set A Password<span class="req">*</span> </label> <input type="password"required autocomplete="off"/> </div> <button type="submit" class="button button-block"/>Get Started</button> </form> </div> <div id="login"> <h1>Welcome Back!</h1> <form action="/" method="post"> <div class="label-field"> <label> Email Address<span class="req">*</span> </label> <input type="email"required autocomplete="off"/> </div> <div class="label-field"> <label> Password<span class="req">*</span> </label> <input type="password"required autocomplete="off"/> </div> <p class="forgot"><a href="#">Forgot Password?</a></p> <button class="button button-block">Log In</button> </form> </div> </div> </div> <script src='http://cdnjs.cloudflare.com/ajax/libs/jquery/2.1.3/jquery.min.js'></script> <script src="function.js"></script> </body> </html> |
style.css
Now create a CSS file named ‘style.css‘ and put these codes given here.
|
1 2 3 4 5 6 7 8 9 10 11 12 13 14 15 16 17 18 19 20 21 22 23 24 25 26 27 28 29 30 31 32 33 34 35 36 37 38 39 40 41 42 43 44 45 46 47 48 49 50 51 52 53 54 55 56 57 58 59 60 61 62 63 64 65 66 67 68 69 70 71 72 73 74 75 76 77 78 79 80 81 82 83 84 85 86 87 88 89 90 91 92 93 94 95 96 97 98 99 100 101 102 103 104 105 106 107 108 109 110 111 112 113 114 115 116 117 118 119 120 121 122 123 124 125 126 127 128 129 130 131 132 133 134 135 136 137 138 139 140 141 142 143 144 145 146 147 148 149 150 151 152 153 154 155 156 157 158 159 160 161 162 163 |
/* Code By Webdevtrick ( https://webdevtrick.com ) */ *, *:before, *:after { box-sizing: border-box; } html { overflow-y: scroll; } body { background: #f3f3f3; font-family: 'Manjari', sans-serif; } a { text-decoration: none; color: #1da1f2; transition: .5s ease; } a:hover { color: #0080ff; } .form { background: rgb(22,19,54, 0.9); padding: 40px; max-width: 600px; margin: 40px auto; border-radius: 4px; box-shadow: 0 4px 10px 4px rgba(19, 35, 47, 0.3); } .top-area { list-style: none; padding: 0; margin: 0 0 40px 0; } .top-area:after { content: ""; display: table; clear: both; } .top-area li a { display: block; text-decoration: none; padding: 15px; background: rgba(160, 179, 176, 0.25); color: #a0b3b0; font-size: 20px; float: left; width: 50%; text-align: center; cursor: pointer; transition: .5s ease; } .top-area li a:hover { background: #0080ff; color: #ffffff; } .top-area .active a { background: #1da1f2; color: #ffffff; } .tab-content > div:last-child { display: none; } h1 { text-align: center; color: #ffffff; font-weight: 300; margin: 0 0 40px; } label { position: absolute; -webkit-transform: translateY(6px); transform: translateY(6px); left: 13px; color: rgba(255, 255, 255, 0.5); transition: all 0.25s ease; -webkit-backface-visibility: hidden; pointer-events: none; font-size: 22px; } label .req { margin: 2px; color: #1da1f2; } label.active { -webkit-transform: translateY(50px); transform: translateY(50px); left: 2px; font-size: 14px; } label.active .req { opacity: 0; } label.highlight { color: #ffffff; } input, textarea { font-size: 22px; display: block; width: 100%; height: 100%; background: none; background-image: none; border: 1px solid #a0b3b0; color: #ffffff; border-radius: 0; transition: border-color .25s ease, box-shadow .25s ease; } input:focus, textarea:focus { outline: 0; border-color: #1da1f2; } textarea { border: 2px solid #a0b3b0; resize: vertical; } .label-field { position: relative; margin-bottom: 40px; } .top-row:after { content: ""; display: table; clear: both; } .top-row > div { float: left; width: 48%; margin-right: 4%; } .top-row > div:last-child { margin: 0; } .button { border: 0; outline: none; border-radius: 0; padding: 15px 0; font-size: 2rem; font-weight: 600; text-transform: uppercase; letter-spacing: .1em; background: #1da1f2; color: #ffffff; transition: all 0.5s ease; -webkit-appearance: none; } .button:hover, .button:focus { background: #0080ff; } .button-block { display: block; width: 100%; } .forgot { margin-top: -20px; text-align: right; } @media (max-width: 765px) { label { left: 0; } } } |
function.js
The final step, Create a JavaScript file named ‘function.js‘ and put the codes.
|
1 2 3 4 5 6 7 8 9 10 11 12 13 14 15 16 17 18 19 20 21 22 23 24 25 26 27 28 29 30 31 32 33 34 35 36 37 38 39 40 41 42 43 44 |
// Code By Webdevtrick ( https://webdevtrick.com ) $('.form').find('input, textarea').on('keyup blur focus', function (e) { var $this = $(this), label = $this.prev('label'); if (e.type === 'keyup') { if ($this.val() === '') { label.removeClass('active highlight'); } else { label.addClass('active highlight'); } } else if (e.type === 'blur') { if( $this.val() === '' ) { label.removeClass('active highlight'); } else { label.removeClass('highlight'); } } else if (e.type === 'focus') { if( $this.val() === '' ) { label.removeClass('highlight'); } else if( $this.val() !== '' ) { label.addClass('highlight'); } } }); $('.tab a').on('click', function (e) { e.preventDefault(); $(this).parent().addClass('active'); $(this).parent().siblings().removeClass('active'); target = $(this).attr('href'); $('.tab-content > div').not(target).hide(); $(target).fadeIn(600); }); |
That’s It. Now you have successfully created HTML Login and Signup Form With CSS JavaScript, Switch Between Two Forms. If you have any doubt or question comment down below.
Thanks For Visiting, Keep Visiting.


Good job, but where is the working download link?
The styles work but when I press get started or log in it says this page isn’t working
I am facing the same issue
In order for it to actually work where you can sign in you need a database connected to it
Same for me
loo
[…] HTML Login and Signup Form With CSS JavaScript Switch … […]
[…] HTML Login and Signup Form With CSS JavaScript | Switch … […]
[…] HTML Login and Signup Form With CSS JavaScript | Switch … […]
[…] HTML Login and Signup Form With CSS JavaScript […]
[…] HTML Login and Signup Form With CSS JavaScript – Web Dev Trick […]
[…] HTML Login and Signup Form With CSS JavaScript | Switch … […]
[…] HTML Login and Signup Form With CSS JavaScript | Switch … […]
Hello, its fastidious article concerning media print,
we all be aware of media is a great source of data.
[…] HTML Login and Signup Form With CSS JavaScript | Switch … […]
[…] HTML Login and Signup Form With CSS JavaScript | Switch … […]
[…] HTML Login and Signup Form With CSS JavaScript […]
[…] Oct 28, 2021Sign In Button and Form. The button has a hover state which pulls a skewed transparent white overlay over the button’s background color. When the button is clicked, the sign in form appears from within the button. Compatible browsers: Chrome, Edge, Firefox, Opera, Safari. Dependencies: -. https://webdevtrick.com › html-login-and-signup-form […]
[…] If the student is not logged in, I redirect them to the login page. async function autoRedirect () { const validLogin = await isLoggedIn() if (! validLogin && location. pathname !== ‘/login/’) redirect(‘/login’) if ( validLogin && location. pathname === ‘/login/’) redirect(‘/’) } https://webdevtrick.com › html-login-and-signup-form […]