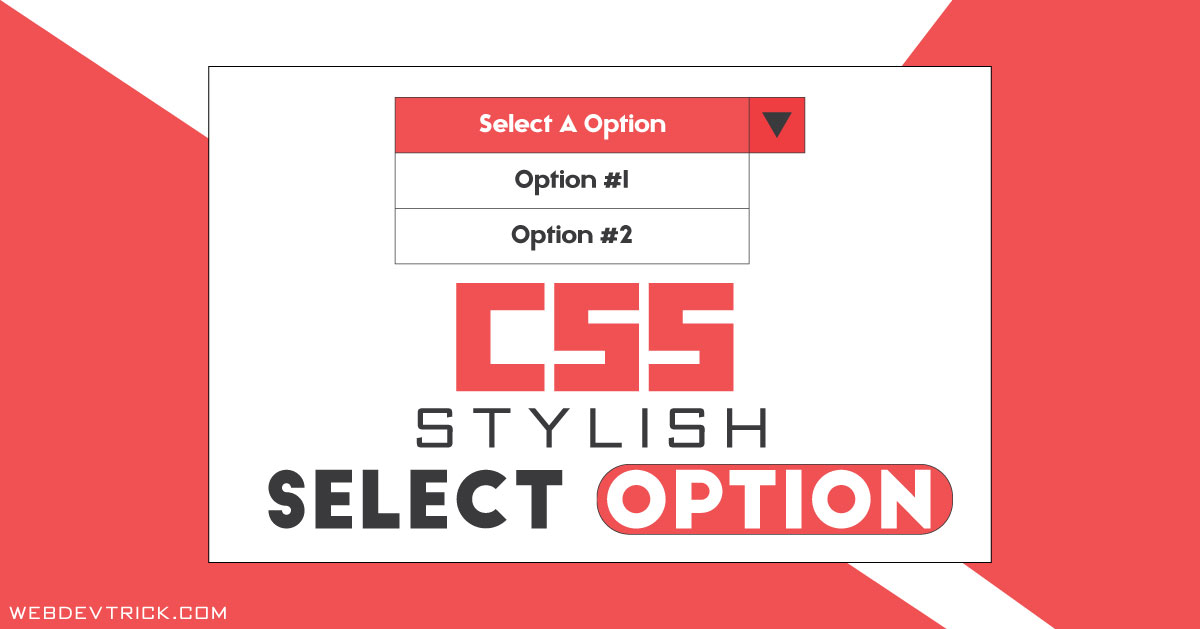
Want to create a custom & stylish dropdown select option using HTML & CSS? Solution: Custom HTML CSS Select Option, Pure HTML & CSS Stylish Dropdown Options.
I am sure that you know about HTML options on the webpage. For example, when we select a country in form, then many countries appears those are options. You can see many types of select options on multiple websites, they are dependent on CSS & JavaScript. HTML5 has a special tag for creating options easily.
Today you will learn to create a custom dropdown select option with HTML & CSS. After seeing this post, you will know how we can design options as we want. Basically, there is a <option> tag in HTML for creating dropdown options, but I used radio inputs to creating this. Because I want to show you all how we can create select options without <option> tag.
So, Today I am sharing a Custom HTML CSS Select Option Design. In other words, a stylish dropdown option selector. As you know this is a <input type= "radio"> based option menu. I used basic CSS to give style to this, you should see these basics also. You can use this on your website, after some changes.
If you are thinking now how this custom option selector actually is, then see the preview given below.
Preview Of Stylish Dropdown Option Menu
See this video preview to getting an idea of how this stylish option select looks like.
Now you can see this visually. If you like this, then get the source code of its.
You May Also Like:
- CSS Stylish Blockquote Design
- Sliding Navigation Buttons
- Newsletter Signup Form HTML CSS JS
- HTML CSS Dark & Light Mode
Custom HTML CSS Select Option Source Code
Before sharing source code, let’s talk about it. I have created a radio input with an ID & a class, its look like this: <input class="options-select" name="selectors" type="radio" id="opt1">. In there, the class is to giving styles, ID is for matching the label. After that, created a label of each input. I have used ‘for‘ in the label section, my one of input’s ID is “otp1” now I put <label for="opt1">.
Now I have placed all options text inside the label. In the first input, I put “checked” for selected in starting. In the CSS section, there are conditions for user interaction. Like background height, width, color, hover color, checked color, etc. For creating the triangle arrow as you can see on the right side, I have created a CSS content with left, right, & top border. That’s created the triangle shape.
There are a lot of basic things I can’t describe in writing, after getting the codes you will understand automatically. For creating this program you have to create only 2 files. One for HTML & one for CSS. Follow the steps to creating this without any error.
index.html
Create an HTML file named ‘index.html‘ and put these codes given below.
|
1 2 3 4 5 6 7 8 9 10 11 12 13 14 15 16 17 18 19 20 21 22 23 24 25 26 27 28 29 30 |
<!DOCTYPE html> <!-- code by webdevtrick ( https://webdevtrick.com ) --> <html> <head> <meta charset="UTF-8"> <title>Stylish Select Option | Webdevtrick.com</title> <link rel="stylesheet" href="style.css"> </head> <body> <div class="select" tabindex="1"> <input class="options-select" name="selectors" type="radio" id="opt1" checked> <label for="opt1" class="option">Web Design</label> <input class="options-select" name="selectors" type="radio" id="opt2"> <label for="opt2" class="option">Web Development</label> <input class="options-select" name="selectors" type="radio" id="opt3"> <label for="opt3" class="option">SEO</label> <input class="options-select" name="selectors" type="radio" id="opt4"> <label for="opt4" class="option">UI / UX Designer</label> <input class="options-select" name="selectors" type="radio" id="opt5"> <label for="opt5" class="option">Graphic Designer</label> <input class="options-select" name="selectors" type="radio" id="opt6"> <label for="opt6" class="option">Video Editor</label> </div> </body> </html> |
style.css
Now create a CSS file named ‘style.css’ and put these codes.
|
1 2 3 4 5 6 7 8 9 10 11 12 13 14 15 16 17 18 19 20 21 22 23 24 25 26 27 28 29 30 31 32 33 34 35 36 37 38 39 40 41 42 43 44 45 46 47 48 49 50 51 52 53 54 55 56 57 58 59 60 61 62 63 64 65 66 67 68 69 70 71 72 73 74 75 76 77 78 79 80 81 82 83 84 85 86 87 88 89 |
/** code by webdevtrick ( https://webdevtrick.com ) **/ body { background: #333; display:flex; justify-content: center; align-items:center; flex-wrap:wrap; padding:0; margin:0; height:100vh; width:100vw; font-family: sans-serif; color:#333; } .select { display:flex; flex-direction: column; position:relative; width:350px; height:40px; } .option { padding:0 30px 0 10px; min-height:40px; display:flex; align-items:center; background: #E5E5E5; border-top:#222 solid 1px; position:absolute; top:0; width: 100%; pointer-events:none; order:2; z-index:1; transition:background .4s ease-in-out; box-sizing:border-box; overflow:hidden; white-space:nowrap; } .option:hover { background: #FF595C; } .select:focus .option { position:relative; pointer-events:all; } input { opacity:0; position:absolute; left:-99999px; } input:checked + label { order: 1; z-index:2; background: #FF595C; border-top:none; position:relative; color: white; } input:checked + label:after { content:''; width: 0; height: 0; border-left: 5px solid transparent; border-right: 5px solid transparent; border-top: 5px solid white; position:absolute; right:10px; top:calc(50% - 2.5px); pointer-events:none; z-index:3; } input:checked + label:before { position:absolute; right:0; height: 40px; width: 40px; content: ''; background: #050505; } |
That’s It. Now you have successfully created Custom HTML CSS Select Option, A stylish dropdown options menu. If you have any doubt or question comment down below.
Thanks For Visiting, Keep Visiting.


Very nice tutorial. Will definitely try on my website.
thanks
thanks
This doesn’t quite work in Safari on the Mac. The dropdown doesn’t collapse after selecting an item. Any ideas?