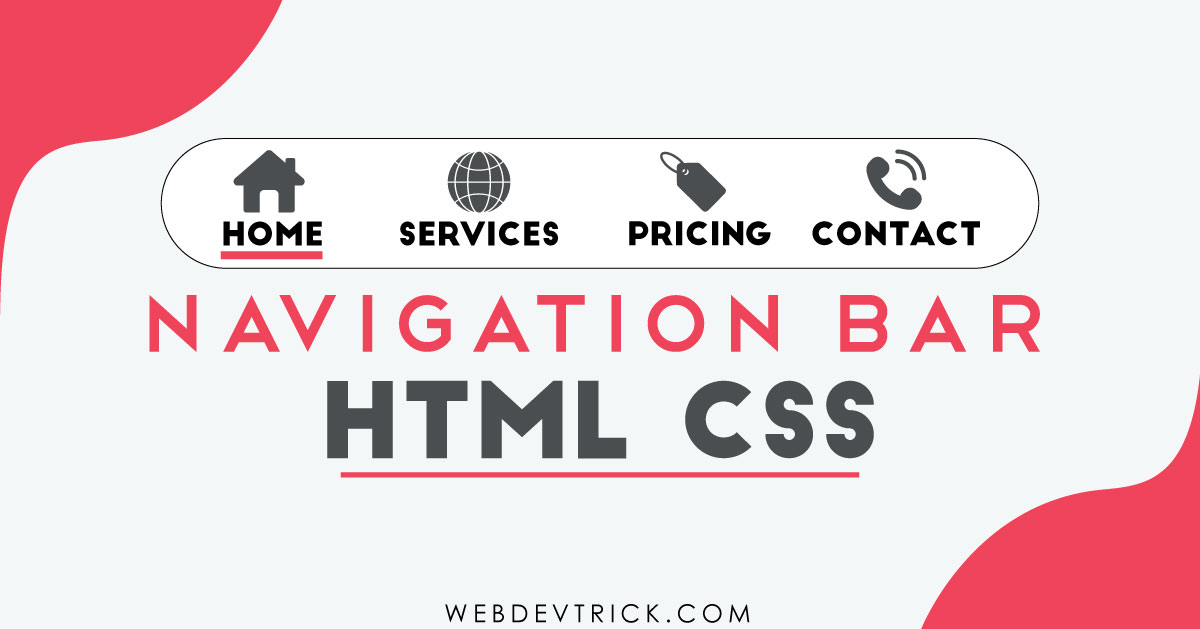
Let’s create an HTML CSS Navigation Bar With Mouse Hover Effect. In other words, Simple Navbar without JavaScript.
You must have seen a navigation bar if reading this post or using the internet for the surfing web. Because every website has a navbar for providing a graphical user interface and showing information to users. Nowadays navbar is compulsory, that’s why HTML include <nav> tag specially for creating a navigation bar in their HTML 5 version.
Most of the navbars are built in HTML, CSS, and JavaScript or any JS library. Using JavaScript you can create a very creative and fully featured navbar. But today I will show you how to create a navigation bar using HTML and CSS only. Beginners who don’t know JavaScript or want a simple HTML and CSS based navbar, this is the perfect program for them.
CMS like WordPress, they also use many javascript libraries for creating a webpage. If you think WordPress create a simple navigation bar without JS, then you are wrong. If you are learning HTML and CSS now, then try to create programs using HTML CSS only. Because of these types of program improve your web design skill and make your HTML-CSS strong.
This is a pure HTML and CSS navigation bar, it has an animated underline effect on mouse hover. When I said this is a basic navbar many peoples think this program is non-stylish or attractive. But this looks pretty good and it has a cool hover effect. To get an idea of how this program looks like, just see this preview.
Preview Of Navbar With Mouse Hover Effect
See this video preview to know how this program actually. Gets an example:
Now you can see how this program in visually. If you like this then go for source code given below.
You May Also Like:
HTML CSS Navigation Bar Source Code
Before sharing source code, let’s talk about how I created this program. I created this menu bar using <ul> and <li> HTML tag. I used font-awesome for creating icons. Basically, this program is mostly based on CSS before: and after: property.
For creating this program you have to create only 2 files. One for HTML, and one of CSS. Follow the steps for creating this without any error.
index.html
Create an HTML file named ‘index.html‘ and put these codes given here below.
|
1 2 3 4 5 6 7 8 9 10 11 12 13 14 15 16 17 18 19 20 21 22 23 24 25 26 27 28 29 30 |
<!DOCTYPE html> <!-- code by webdevtrick ( https://webdevtrick.com ) --> <html> <head> <meta charset="UTF-8"> <title>Navigation Bar</title> <link rel="stylesheet" href="https://use.fontawesome.com/releases/v5.8.1/css/all.css"> <link rel="stylesheet" href="https://fonts.googleapis.com/css?family=Roboto:300"> <link rel="stylesheet" href="style.css"> </head> <body> <div id="menu-nav"> <div id="navigation-bar"> <ul> <li><a href="#"><i class="fa fa-home"></i><span>Home</span></a></li> <li><a href="#"><i class="fa fa-handshake"></i><span>Services</span></a></li> <li><a href="#"><i class="fa fa-user"></i><span>About</span></a></li> <li><a href="#"><i class="fa fa-book"></i><span>Contact</span></a></li> <li><a href="#"><i class="fa fa-rss"></i> <span>Blog</span></a></li> </ul> </div> </div> </body> </html> |
style.css
Now create a CSS file named ‘style.css‘ and put these codes.
|
1 2 3 4 5 6 7 8 9 10 11 12 13 14 15 16 17 18 19 20 21 22 23 24 25 26 27 28 29 30 31 32 33 34 35 36 37 38 39 40 41 42 43 44 45 46 47 48 49 50 51 52 53 54 55 56 57 |
/* code by webdevtrick ( https://webdevtrick.com ) */ body { background: #34495e; font: normal 300 18px "Roboto", sans-serif; } #menu-nav { max-width: 1000px; margin: 130px auto; background-color: #ecf0f1; border-radius: 4px; box-shadow: 0 2px 5px rgba(0, 0, 0, 0.3); } #navigation-bar ul { border-radius: 4px; overflow: hidden; } #navigation-bar li { float: left; width: 20%; } #navigation-bar li:hover a::before { right: 0; left: 0; } #navigation-bar a { color: #848484; font-size: 20px; text-decoration: none; text-align: center; padding: 20px 0; display: block; position: relative; transition: all 0.3s ease; } #navigation-bar a:hover { color: #e74c3c; } #navigation-bar a::before { content: ""; transition: all 0.4s ease-in-out; position: absolute; right: 50%; left: 50%; bottom: 0; height: 2px; background-color: #e74c3c; } #navigation-bar a:hover::before { right: 0; left: 0; } li { list-style: none; } |
That’s It. Now you have successfully created an HTML CSS navigation bar or navbar. If you have any doubt or question comment down below.
Thanks For Visiting, Keep Visiting.


Very helpful shaan, can you make an article how we can create mobile navigation as explained above… It should be like android app like navigation… Example freshmenu.Com mobile version
Sure, I will post very soon as possible. Thanks for commenting, stay connected.
Thank you for create this navigation bar shaan. Please make it responsive for all device like mobile, computer and tab.
Sure, Why not. this is a pure HTML and CSS example. Next time I will post a responsive navbar. Thanks for your comment, stay connected. If you need responsive navbar urgent message me in facebook – https://www.facebook.com/webdevtrick
Hi Shaan, could you tell what you are using for displaying the code? Any plugin or simple html? It looks very clean and has essential toolbox at the top for every code box.
Hey, thank for your comment. I am using Crayon Syntax Highlighter free plugin for display code. Stay connected.
Realy nice resource.
Thankyou for this and keep up.
Thank you very much, Stay connected.
why do you need an tag?
For placing icons
Hey, how do you make this responsive?
hey Shaan! please tell me how can I display the menubar in a horizontal line? like a grid??
thank you so much
Nice navbar. Can you be of help make make a contact for them sends emails using PHP?
Contact form* for sending emails.
Nice navBar. Can you be of helping making a contact form that uses PHP to send emails? Just the PHP code, the rest is fine.