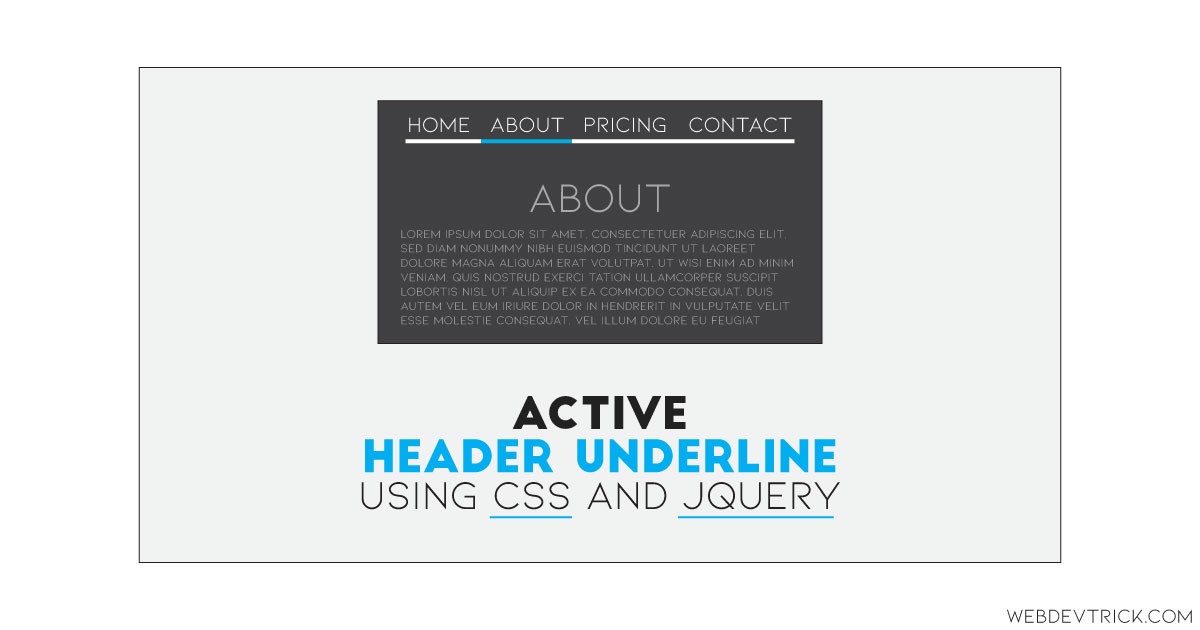
How we can create an active link indicator effect for the header and nav section? Solution: See this Header Underline Active Item Using CSS and jQuery, Indicate Active Link.
Earlier I have shared an active tab animation program, this is similar to that but it for header items. Basically, the header section contains navigation, logo, search box, etc on a website. And HTML has a specific tag <header> to creating the header section, it also helps search engines to detect the header part. In this program, the header section contains navigation and the program is for underline the active nav item.
Today you will learn to create an Indicate Active Link program. Basically, there is a dummy text for LOGO and 5 navigation items or links. Below the navigation items, there is a light color line with the first item to last item placement. But the selected or active nav link has a blue underline, it helps to detect the currently active link. When you will click on another link then the blue underline will go and active that selected nav item. Also, the hover effect is similar, on hover the hovered item’s underline will blue and all other items will fade.
So, Today I am sharing Header Underline Active Item Using CSS and jQuery. There I have used CSS for styling and other effects, and jQuery for implement those styles and effects according to the action. This program is short and basic, you will easily learn and created. If you are a beginner, then you can use this program on your website otherwise, you can customize it to creating better.
If you are thinking now how this active header underline effect actually is, then see the preview given below.
Preview Of Indicate Active Link for Nav
See this video preview to getting an idea of how this program looks like.
Live DemoNow you can see this visually, also you can see it live by pressing the button given above. If you like this, then get the source code of its.
You May Also Like:
Header Underline Active Item Using CSS and jQuery Source Code
Before sharing source code, let’s talk about it. First I have created a header section using HTML <header> tag and placed a hyperlink tag for LOGO and a nav section inside it. Inside the <nav> tag I have placed a list using HTML <ul> & <li> tags. Each list item contains a hyperlink tag with text which for navigation links and items.
Now using CSS I have placed all the items in the right place, as you can see in the preview. With CSS first I gave basic values to the elements like size, position, margin, padding, etc. There I have used flex display ( display: flex; ) command to create the layout. Also, I have created the hover effect and :after command to creating the active link effect.
jQuery handling here the active effect add and remove from links according to action. First, it fetched elements using document.querySelectorAll command and used .classList command to adding and remove the active class. Left all other things you will understand after getting the codes, I can’t explain all in writing.
For creating this program you have to create 3 files. First file for HTML, second for CSS, and the third file for JavaScript. Follow the steps to creating this program without any error.
index.html
Create an HTML file named ‘index.html‘ and put these codes given below.
|
1 2 3 4 5 6 7 8 9 10 11 12 13 14 15 16 17 18 19 20 21 22 23 24 25 26 27 28 |
<!DOCTYPE html> <!-- Code By Webdevtrick ( https://webdevtrick.com ) --> <html lang="en" > <head> <meta charset="UTF-8"> <title>Active Header Underline | Webdevtrick.com</title> <link rel="stylesheet" href="https://cdnjs.cloudflare.com/ajax/libs/normalize/5.0.0/normalize.min.css"> <link rel="stylesheet" href="style.css"> </head> <body> <header> <a href="#" class="logo">LOGO</a> <nav class="site-nav"> <ul> <li><a href="#">Home Page</a></li> <li><a href="#">Pricing Section</a></li> <li><a href="#">Our Portfolio</a></li> <li><a href="#">About Us</a></li> <li><a href="#">Contact Us</a></li> </ul> </nav> </header> <script src="function.js"></script> </body> </html> |
style.css
Now create a CSS file named ‘style.css‘ and put these codes given here.
|
1 2 3 4 5 6 7 8 9 10 11 12 13 14 15 16 17 18 19 20 21 22 23 24 25 26 27 28 29 30 31 32 33 34 35 36 37 38 39 40 41 42 43 44 45 46 47 48 49 50 51 52 53 54 55 56 57 58 59 60 |
/* Code By Webdevtrick ( https://webdevtrick.com ) */ body { background: #222; } header { display: flex; justify-content: space-between; align-items: center; padding: 1rem 2.5rem; } .logo { font-size: 34px; line-height: 50px; text-align: center; text-decoration: none; color: white; } .site-nav { border-bottom: 1px solid rgba(255, 255, 255, 0.2); } ul { display: flex; padding: 0; margin: 0; list-style-type: none; } ul:hover li:not(:hover) a { opacity: 0.2; } ul li { position: relative; padding: 30px 25px 30px 25px; cursor: pointer; } ul li::after { position: absolute; content: ""; top: 100%; left: 0; width: 100%; height: 2px; background: #3498db; transform: scaleX(0); transition: 0.4s cubic-bezier(0.165, 0.84, 0.44, 1); } ul li:hover::after, ul li.active::after { transform: scaleX(1); } ul li a { position: relative; display: flex; color: white; font-family: Lato, sans-serif; text-decoration: none; transition: 0.4s cubic-bezier(0.165, 0.84, 0.44, 1); } |
function.js
The final step, create a JavaScript file named ‘function.js‘ and put the codes.
|
1 2 3 4 5 6 7 8 9 10 |
// Code By Webdevtrick ( https://webdevtrick.com ) "use strict"; var underlineMenuItems = document.querySelectorAll("ul li"); underlineMenuItems[0].classList.add("active"); underlineMenuItems.forEach(function (item) { item.addEventListener("click", function () { underlineMenuItems.forEach(function (item) { return item.classList.remove("active"); }); item.classList.add("active"); }); }); |
That’s It. Now you have successfully created Header Underline Active Item Using CSS and jQuery, Indicate Active Link program. If you have any doubt or question comment down below.
Thanks For Visiting, Keep Visiting.
