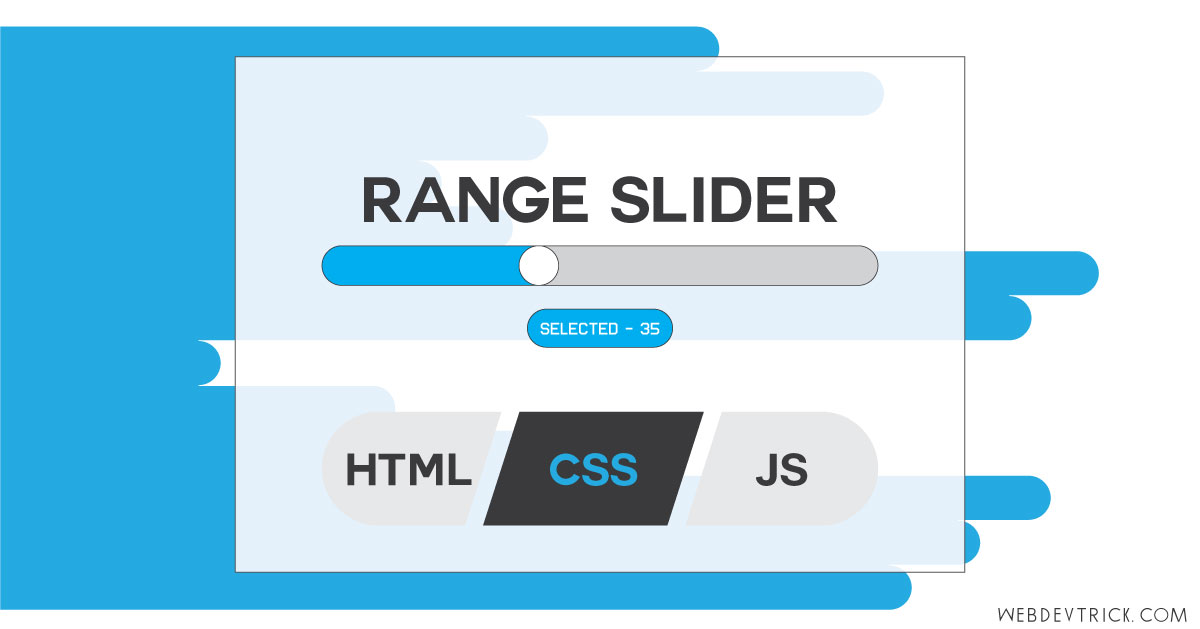
How we can create a custom range slider using HTML CSS & JavaScript? Solution: Check out this CSS Range Slider With HTML & jQuery which is a javascript library.
Maybe you have seen many types of range selectors or sliders on websites. In the product’s quantity section, Instagram or facebook stories section, in many places you can see it. Most peoples prefer range slider over simple quantity value field.
Now question is that How we can create this for our website or project? Well, you can create it using HTML CSS & JavaScript. I am sure that, you will able to create after seeing this post. This range slider program is not a hard one, but it’s little bit tricky. You will understand this if you have good knowledge of HTML CSS & JS.
So, Today I am sharing a CSS Range Slider With HTML & JavaScript. Basically, I used jQuery to update the numbers in real time when the slider value will change. jQuery is a JavaScript library, that’s why I am putting this in JS category. This an only or pure CSS based slider, I used jquery to change values in numbers.
If you are thinking now how this slider actually is, then see the preview given below.
Preview Of jQuery Based Slider
See this video preview to getting an idea of how this looks like.
Now you can see this visually. If you like this, then get the source code of its.
You May Also Like:
- HTML CSS Star Rating
- CSS Custom Checkbox & Radio Button
- Navigation Bar With Hover Effect
- Registration Form With Validation
CSS Range Slider With HTML & JavaScript Source Code
Before sharing source code, let’s talk about it. I created this slider’s base using <input type="range"> HTML attribute (more info). I gave the minimum value of range is 1 and the maximum 100. And I put 50 as the default value, in other words, when you open this program the value will appear 50. After that, I created a span for showing values, this part is built-in jQuery. Otherwise, this is a pure CSS function.
In the CSS section, I created the range input 300px wide and 10px long. Inside the range section, I created a thumb using ::-webkit-slider-thumb property. I created this with 20px height and width and gave 50% border radius. to creating it circular. Now we can slide the range using this circle.
After that, I create the field for showing the values. This section you can understand easily don’t need to explain. In jQuery or JavaScript section I create two variables, first var for range & second for the span to showing values. JS part is very simple it fetches the range’s value and updates it on the span field.
For creating this program you have to create 3 files. First for HTML, second for CSS, & third for JavaScript. Follow the steps to creating this without any error.
index.html
Create an HTML file named ‘index.html‘ and put these codes given below.
|
1 2 3 4 5 6 7 8 9 10 11 12 13 14 15 16 17 18 19 20 |
<!doctype html> <!-- code by webdevtrick ( https://webdevtrick.com ) --> <html> <head> <meta charset="utf-8"> <title>Range Slider | Webdevtrick.com</title> <link href="https://fonts.googleapis.com/css?family=Anton&display=swap" rel="stylesheet"> <link href="style.css" rel="stylesheet"> </head> <body> <h1>Custom Range Slider</h1> <div class="range-slider"> <input class="input-range" type="range" value="50" min="1" max="100"> <span class="range-value"></span> </div> <script src="https://code.jquery.com/jquery-3.4.1.min.js"></script> <script src="function.js" type="text/javascript"></script> </body> </html> |
style.css
Now create a CSS file named ‘style.css‘ and put these codes.
|
1 2 3 4 5 6 7 8 9 10 11 12 13 14 15 16 17 18 19 20 21 22 23 24 25 26 27 28 29 30 31 32 33 34 35 36 37 38 39 40 41 42 43 44 45 46 47 48 49 50 51 52 53 54 55 56 57 58 59 60 61 62 63 64 65 66 67 |
/** code by webdevtrick ( https://webdevtrick.com ) **/ * { box-sizing: border-box; } body { background: #F1F1F1; font-family: sans-serif; padding: 40px; margin-left: 35%; margin-top: 20%; } h1 { font-family: 'Anton', sans-serif; letter-spacing: 2px; color: #27C6FF; } .range-slider .input-range { -webkit-appearance: none; width: 300px; height: 10px; border-radius: 5px; background: #B7B6B6; outline: none; } .range-slider .input-range::-webkit-slider-thumb { -webkit-appearance: none; width: 20px; height: 20px; border-radius: 50%; background: #666; cursor: pointer; -webkit-transition: background .15s ease-in-out; transition: background .15s ease-in-out; } .range-slider .input-range::-webkit-slider-thumb:hover { background: #27C6FF; } .range-slider .input-range:active::-webkit-slider-thumb { background: #27C6FF; } .range-slider .range-value { display: inline-block; position: relative; width: 60px; color: #fff; font-size: 16px; font-weight:bold; line-height: 20px; text-align: center; border-radius: 3px; background: #27C6FF; padding: 5px 10px; margin-left: 7px; } .range-slider .range-value:after { position: absolute; top: 8px; left: -7px; width: 0; height: 0; border-top: 7px solid transparent; border-right: 7px solid #27C6FF; border-bottom: 7px solid transparent; content: ''; } |
function.js
The final step, Create a JavaScript file and put the codes.
|
1 2 3 4 5 6 7 8 9 |
/** code by webdevtrick ( https://webdevtrick.com ) **/ var range = $('.input-range'), value = $('.range-value'); value.html(range.attr('value')); range.on('input', function(){ value.html(this.value); }); |
That’s It. Now you have successfully created CSS Range Slider with HTML & Jquery or JavaScript. If you have any doubt or question comment down below.
Thanks For Visiting, Keep Visiting.


Hey shaan, can you please share the WordPress theme and plug-ins that affect appearance that you’re using.
Hey bro, I am using IonMan free theme & syntax highlight plugin for providing codes., you can download both for free.
I’m unable to find this IonMan free theme, will you please share the link from where you downloaded it?
Reply please.