Toggle Button In CSS & HTML: Buttons, we all have seen a lot of places, whatever on the web and also in mobile. There are many types of buttons, but nowadays a button type is very popular that called toggle button. This type of button is become popular maybe because of iPhone. Because they have this type of button in their OS. You can see toggle buttons on many websites in term and condition field, mode field etc.
Now the question is, how to create a toggle button in CSS & HTML for web development? That’s why I am here, to solve your every web or graphics Design & development problem.
You Also May Like
Cool CSS Animated Login Form Example With Source Code
CSS Link Hover Effect For WordPress | Animate Text Underline
Toggle Button In CSS & HTML Source Code
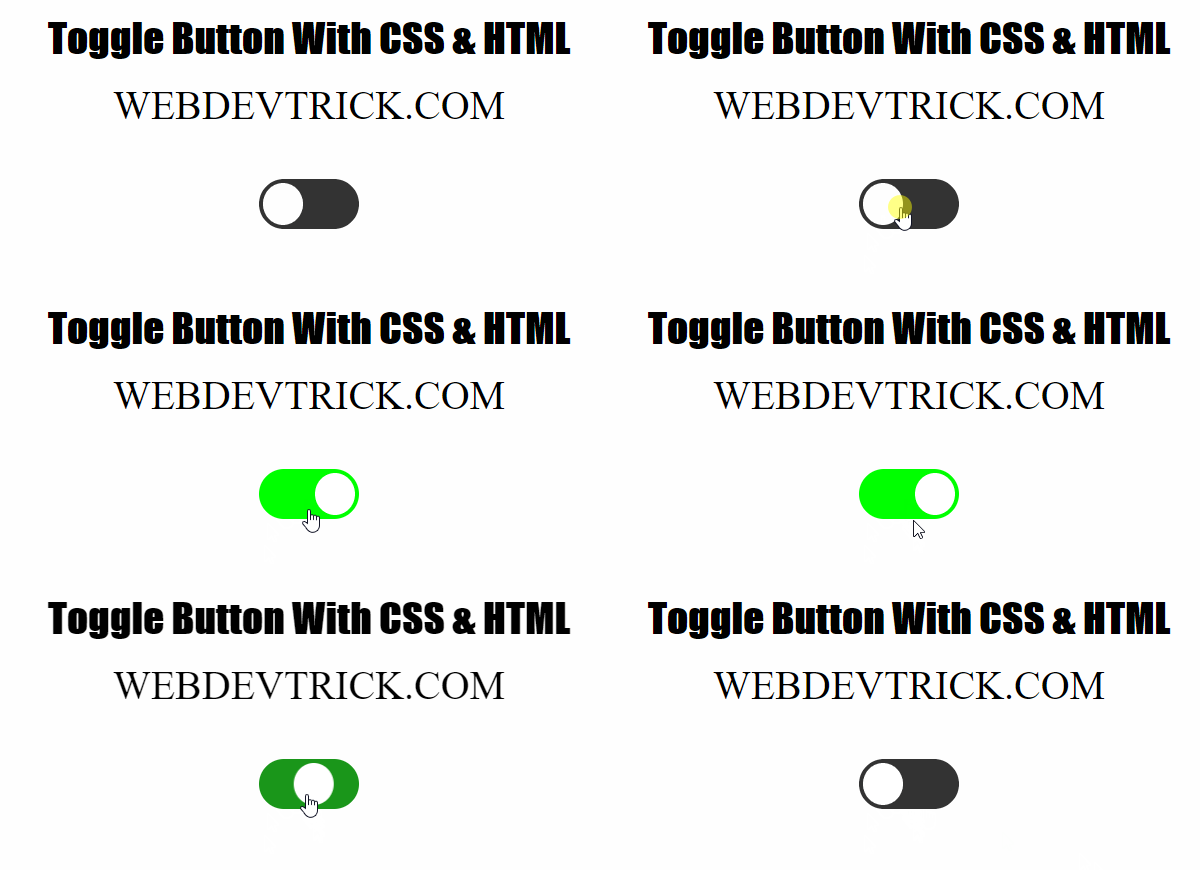
Now its time to create toggle button with HTML & CSS. You have to create two files first is for HTML file second one is for CSS file. In this program, I have just created <div> <label> & <input type = “checkbox”> tags. Firstly, see a preview of this toggle button:

So, this is a preview of toggle switch today I am sharing. I had created this in HTML & CSS, This is very easy to create in bootstrap. Because, bootstrap built in HTML, CSS & JavaScript & bootstrap have specific class of this program.
How you have to create two files, create the first file named “index.html” & anything as you want. Create the second file with named “style.css“. After creating these files paste codes given here below.
Index.html
Copy & Paste these codes in “index.html” you had previously created.
|
1 2 3 4 5 6 7 8 9 10 11 12 13 14 15 16 17 18 19 20 21 22 23 24 25 26 |
<!DOCTYPE html> <!-- Code By WebDevTrick ( https://webdevtrick.com ) --> <html> <head> <meta charset="UTF-8"> <title>Toggle Button With HTML & CSS</title> <link rel="stylesheet" href="style.css"> </head> <body> <div align = "center" class = "centereddiv"> <div class = "heading">Toggle Button With CSS & HTML </div> <div class = "subtitle">WEBDEVTRICK.COM</div> <div align = "center" id = "box"> <label class = "switch"> <input type = "checkbox"> <div class = "slider round"></div> </div> </div> </body> </html> |
Now, copy & Paste these codes in “style.css” you had previously created. Without CSS this is not possible so, make sure you have created CSS file.
|
1 2 3 4 5 6 7 8 9 10 11 12 13 14 15 16 17 18 19 20 21 22 23 24 25 26 27 28 29 30 31 32 33 34 35 36 37 38 39 40 41 42 43 44 45 46 47 48 49 50 51 52 53 54 55 56 57 58 59 60 61 62 63 64 65 66 67 68 69 70 71 72 73 74 75 76 77 78 |
/** Code By WebDevTrick ( https://webdevtrick.com) **/ .switch { position: relative; display: inline-block; width: 100px; height: 50px; } .switch input { display:none; } .slider { position: absolute; cursor: pointer; top: 0; left: 0; right: 0; bottom: 0; background-color: #333333; transition: .4s; } .slider:before { position: absolute; content: ""; height: 42px; width: 40px; left: 4px; bottom: 4px; background-color: white; transition: .4s; } input:checked + .slider { background-color: #00FF00; } input:focus + .slider { box-shadow: 0 0 1px #00FF00; } input:checked + .slider:before { transform: translateX(52px); } .slider.round { border-radius: 34px; } .slider.round:before { border-radius: 50%; } #box { padding-top:50px; } .heading { font-size:40px; font-weight:bold; font-family:Impact, Serif; } body { background-color: white; } .centereddiv { padding-top:20px; } .subtitle { padding-top:20px; font-family:Times, Serif; font-size:40px; } |
That’s It. You have successfully created toggle button or toggle switch in CSS & HTML. If you have any doubt comment down below, I will reply to your comment as soon as possible.
Thanks For Visiting, Keep Visiting.


