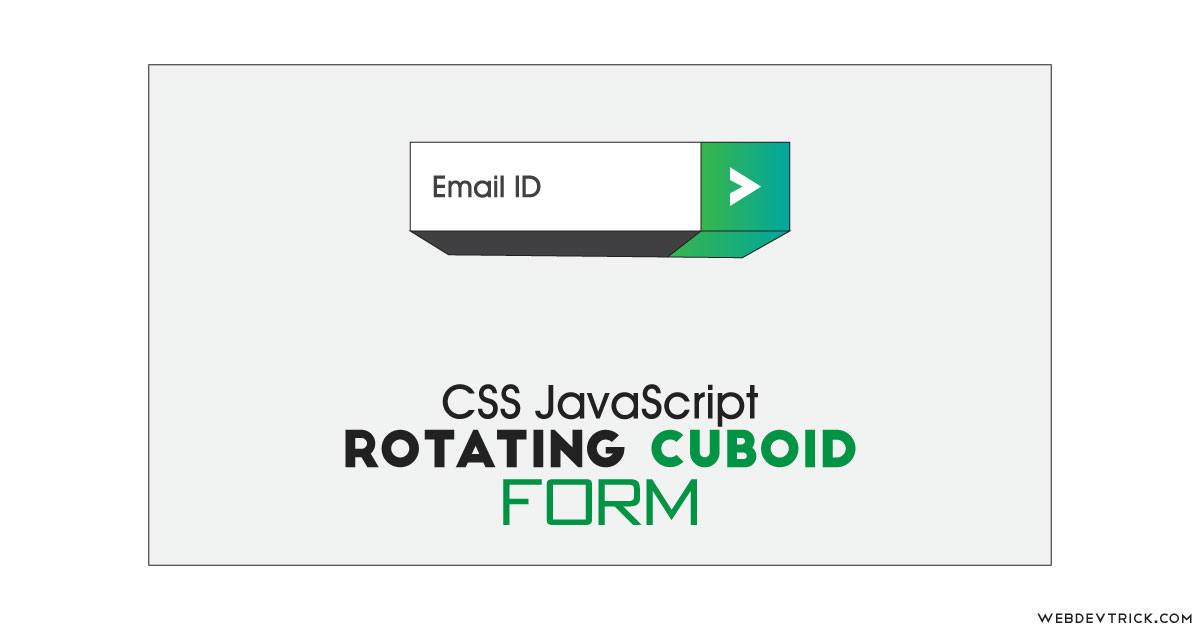
How we can create a single box rotate form using HTML CSS JS? Solution: Check out this Rotating Cuboid Form With CSS and JavaScript, Rotate Cube Fields.
Previously I have shared many form programs, but this is a rotating cube form. Basically, we use the form in websites to collecting or checking user’s data, which could be personal details, bank details, interest, or anything else. And commonly form take an area and show all the fields on a single page, some show partly in a multi-step form. But this unique form with a single box and button, after filling details and pressing the next button the box will rotate like a cuboid and reveal another field.
Today you will learn to create Rotate Cube Fields as a form. Basically, there is a rectangular box with a button on the right side actually, the box is an input field with a placeholder and the button is to submit or go next. When you will put characters in the box and click on the button, then the box will rotate like a 3D cube and reveal another field. There are 5 input fields for name, email, country, state, and number. Also, There is counting text in the top of the box, for indicating the process.
So, Today I am sharing Rotating Cuboid Form With CSS and JavaScript. There I have used CSS for creating the elements and JavaScript for a little bit functioning. There I have not used jQuery or any other JS library, this is a pure JavaScript and CSS program. You can create it a lot better after modification, also you can use it on your website or project.
If you are thinking now how this 3D cube form actually is, then see the preview given below.
Preview Of Rotate 3D Cube Input Fields
See this video preview to getting an idea of how this cuboid form looks like.
Now you can see this visually, also you can see it live by pressing the button given above. If you like this, then get the source code of its.
You May Also Like:
Rotating Cuboid Form With CSS and JavaScript Source Code
Before sharing source code, let’s talk about it. First I have created a main div named container, and placed div sets with inputs inside it. Inside a div, I have placed an input and another div for the button. Also, I have created extra divs for other elements like progress text, and end welcome button. In the HTML file, I have linked other files like CSS and JS.
Now using CSS I have placed all the elements in the right place, as you can see in the preview. There I have used CSS transform-style: preserve-3d; command in every element using selector method. I have done basic works like position, size, margin, padding, etc. Also, I have used other command like perspective and transform for 3D rotating cube.
JavaScript handling here next, progress features in the program. There I have used JS if{} else{} commands and also used for loop to run the function till the end of inputs. Left all other things you will understand after getting the codes, I can’t explain all in writing. For creating this program you have to create 3 files. First for HTML, second for CSS, and the third file for JavaScript. Follow the steps to creating this without any error.
index.html
Create an HTML file named ‘index.html‘ and put these codes given below.
|
1 2 3 4 5 6 7 8 9 10 11 12 13 14 15 16 17 18 19 20 21 22 23 24 25 26 27 28 29 30 31 |
<!DOCTYPE html> <!-- Code By Webdevtrick ( https://webdevtrick.com ) --> <html lang="en" > <head> <meta charset="UTF-8"> <title>Rotating Cuboid Form | Webdevtrick.com</title> <meta name="viewport" content="width=device-width, initial-scale=1"> <link rel="stylesheet" href="style.css"> </head> <body> <div class="container"> <div class="progress">0/5 COMPLETED.</div> <div class="group dua"> <input placeholder="Name" required/><div class="button"></div> </div><div class="group tiga"> <input placeholder="Business Email" type="email" required /><div class="button"></div> </div><div class="group tiga"> <input placeholder="Country" required /><div class="button"></div> </div><div class="group tiga"> <input placeholder="State" required /><div class="button"></div> </div><div class="group tiga"> <input type="tel" placeholder="Phone" required /><div class="button"></div> </div><div class="group tiga"><div class="done">Welcome ›</div></div> </div> <script src="function.js"></script> </body> </html> |
style.css
Now create a CSS file named ‘style.css‘ and put the codes given below.
|
1 2 3 4 5 6 7 8 9 10 11 12 13 14 15 16 17 18 19 20 21 22 23 24 25 26 27 28 29 30 31 32 33 34 35 36 37 38 39 40 41 42 43 44 45 46 47 48 49 50 51 52 53 54 55 56 57 58 59 60 61 62 63 64 65 66 67 68 69 70 71 72 73 74 75 76 77 78 79 80 81 82 83 84 85 86 87 88 89 90 91 92 93 94 95 96 97 98 99 100 101 102 103 104 105 106 107 108 109 110 111 112 113 114 115 116 117 118 119 120 121 122 123 124 125 126 127 128 129 130 131 132 133 134 135 136 137 138 139 140 141 142 143 144 145 146 147 148 149 |
/* Code By Webdevtrick ( https://webdevtrick.com ) */ @import url("https://fonts.googleapis.com/css?family=Roboto+Slab:200"); * { margin: 0; padding: 0; box-sizing: border-box; border: 0; -webkit-transform-style: preserve-3d; transform-style: preserve-3d; font-family: "Roboto Slab", sans-serif; } *:focus { outline: 0; } body { background: #f24c5e; } .container, input, .button, .group, .button:after, .done { height: 60px; } .container, .group { width: 360px; } .container { margin: calc(50vh - 30px) 0 0 calc(50vw - 180px); -webkit-perspective: 500px; perspective: 500px; } .group, .button:after { position: absolute; top: 0; left: 0; } input, .button { display: inline-block; vertical-align: top; } input { width: 300px; background: white; padding: 20px; font-size: 18px; color: #212121; } input::-webkit-input-placeholder { color: silver; } input:-ms-input-placeholder { color: silver; } input::-ms-input-placeholder { color: silver; } input::placeholder { color: silver; } .button, .button:after { width: 60px; } .button, .done { cursor: pointer; background: #E0E0E0; transition: background 0.5s; } .button.valid, .done { background-image: linear-gradient(135deg, #5cb85c 10%, #f8d23c 100%); } .button:not(.valid):hover { background: #FF5252; } .button:after { content: ""; background-image: url("data:image/svg+xml;charset=UTF-8,%3csvg xmlns='http://www.w3.org/2000/svg' width='40' height='40' viewBox='0 0 24 24'%3e%3cpath fill='white' d='M7.41 8.59L12 13.17l4.59-4.58L18 10l-6 6-6-6 1.41-1.41z'/%3e%3c/svg%3e"); background-position: 50% 50%; background-repeat: no-repeat; } .button.valid:after { -webkit-animation: a infinite 1s; animation: a infinite 1s; } .group:nth-last-of-type(2) .button:after { background-image: url("data:image/svg+xml;charset=UTF-8,%3csvg xmlns='http://www.w3.org/2000/svg' width='30' height='30' viewBox='0 0 24 24'%3e%3cpath fill='white' d='M9 16.2L4.8 12l-1.4 1.4L9 19 21 7l-1.4-1.4L9 16.2z'/%3e%3c/svg%3e"); } .button:not(.valid):hover:after { background-image: url("data:image/svg+xml;charset=UTF-8,%3csvg xmlns='http://www.w3.org/2000/svg' width='24' height='24' viewBox='0 0 24 24'%3e%3cpath fill='white' d='M12 2C6.48 2 2 6.48 2 12s4.48 10 10 10 10-4.48 10-10S17.52 2 12 2zm1 15h-2v-2h2v2zm0-4h-2V7h2v6z'/%3e%3c/svg%3e"); } .done { color: white; padding: 19px; text-align: center; } .satu { -webkit-transform: rotateX(90deg) translateY(-30px) translateZ(30px); transform: rotateX(90deg) translateY(-30px) translateZ(30px); opacity: 0; transition: box-shadow 0.5s, opacity 0.7s 0.3s, -webkit-transform 1s; transition: transform 1s, box-shadow 0.5s, opacity 0.7s 0.3s; transition: transform 1s, box-shadow 0.5s, opacity 0.7s 0.3s, -webkit-transform 1s; } .dua { -webkit-transform: none; transform: none; box-shadow: 0 30px 40px rgba(0, 0, 0, 0.15); transition: box-shadow 0.5s 0.5s, opacity 0.7s, -webkit-transform 1s; transition: transform 1s, box-shadow 0.5s 0.5s, opacity 0.7s; transition: transform 1s, box-shadow 0.5s 0.5s, opacity 0.7s, -webkit-transform 1s; } .tiga { -webkit-transform: rotateX(-90deg) translateY(30px) translateZ(30px); transform: rotateX(-90deg) translateY(30px) translateZ(30px); opacity: 0; } .container .progress { color: white; position: absolute; bottom: 80px; right: 1px; text-align: right; } @-webkit-keyframes a { 0%, 100% { background-position: 50% 40%; } 50% { background-position: 50% 60%; } } @keyframes a { 0%, 100% { background-position: 50% 40%; } 50% { background-position: 50% 60%; } } |
function.js
The final step, create a JavaScript file named ‘function.js‘ and put the codes.
|
1 2 3 4 5 6 7 8 9 10 11 12 13 14 15 16 17 18 19 20 21 22 23 24 25 26 27 28 29 30 31 32 33 |
//Code By Webdevtrick ( https://webdevtrick.com ) var g = document.getElementsByClassName("group"), c = 0, i, v = false; for (i = 0; i < g.length - 1; i++) { g[i].querySelector("input").onkeyup = function() { if (this.validity.valid == true) { v = true; this.nextSibling.classList.add("valid"); } else { v = false; this.nextSibling.classList.remove("valid"); } }; g[i].querySelector(".button").onclick = function() { if (v == true) { c++; this.parentNode.className = "group satu"; this.parentNode.nextSibling.className = "group dua"; document.querySelector(".progress").innerHTML = c + "/" + (g.length - 1) + " COMPLETED." + (c == g.length - 1 ? " THANK YOU FOR FILLING UP THE FORM." : ""); v = false; } }; } |
That’s It. Now you have successfully created Rotating Cuboid Form With CSS and JavaScript, Rotate Cube Fields. If you have any doubt or question comment down below.
Thanks For Visiting, Keep Visiting.


Hi Shaan
Please How do I go Ahead and send this to an Email with PHP or other methods ?
Your help will be really appreciated
Thanks
check out this https://webdevtrick.com/login-system-php-mysql/