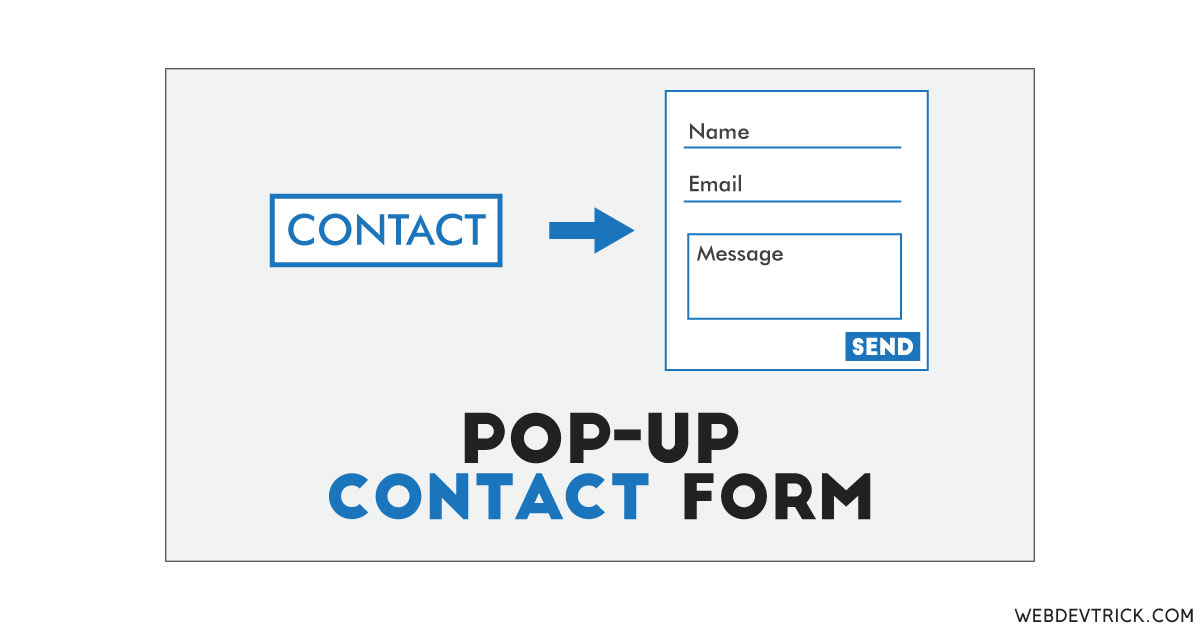
How we can create a pop-up type contact form using HTML CSS JS? Solution: See this Popup Contact Form With Clean and Minimal Design, Expanding Form.
Previously I have shared an expanding contact form, this is also similar to that but it has a popup feature. Basically, the contact form is an important part of every website. And if you see most of the website’s main target is the contact page. If your major target is to navigate users to contact form, then you should place the form on every page, not on a single page. Using this kind of contact form program, you can put the form on every page by placing it on the footer, nav, or sidebar.
Today you will learn to create an expanding form for contact information. Basically, there is a button with the text ‘open contact form’ and when you will click on or over it the popup form will reveal. The popup box contains 3 input fields and buttons, 3 inputs for the name, email, message, and button for sending. Also, there is a minus icon for closing the popup box.
So, Today I am sharing Popup Contact Form With Clean and Minimal Design. There I have used HTML to create the layout, CSS for style, jQuery for function. The inputs contain some icons for showing about the field, all the icons are based on a third-party library. You can use this contact form on your website for placing the form on every page.
If you are thinking now how this contact form actually is, then see the preview given below.
Preview Of Expanding Form
See this video preview to getting an idea of how this expanding form looks like.
Now you can see this program visually, also you can see it live by pressing the button given above. If you like this, then get the source code of its.
You May Also Like:
Popup Contact Form Source Code
Before sharing source code, let’s talk about it. First I have created a button with class and ID name. After that, I have created a div named ‘contact’ and put a form inside it. Inside the form, I have placed 2 inputs, a text area, and a submit type input. All the elements contain a unique class or ID name. Also in the HTML file, I have linked external files like CSS, JS, and jQuery CDN file.
Now using CSS I have placed all the items in the right place, as you can see in the preview. With CSS I gave basic values like size, position, margin, padding, etc to the elements. There I have used the font-awesome library to place the icons. Also, I have used the CSS @media query to reduce the size of some elements for responsive design.
jQuery handling here the toggle open and close the popup form. There I have created multiple functions for all conditions. jQuery codes are a little complicated, you will understand after getting the codes I can’t explain all in writing. For creating this program you have to create 3 files. First file for HTML, second for CSS, and third file for JavaScript.
Follow the steps to creating this program without any error.
index.html
Create an HTML file named ‘index.html‘ and put these codes given below.
|
1 2 3 4 5 6 7 8 9 10 11 12 13 14 15 16 17 18 19 20 21 22 23 24 25 26 27 28 29 30 31 32 33 34 35 36 37 38 |
<!DOCTYPE html> <!-- Code By Webdevtrick ( https://webdevtrick.com ) --> <html lang="en" > <head> <meta charset="UTF-8"> <title>Pop-up Contact Form | Webdevtrick.com</title> <link href="https://fonts.googleapis.com/css?family=Open+Sans:300,400,600,800" rel="stylesheet"> <link href="https://maxcdn.bootstrapcdn.com/font-awesome/4.7.0/css/font-awesome.min.css" rel="stylesheet"> <link rel="stylesheet" href="style.css"> </head> <body> <button type="button" class="btn" id="c-btn">Open Contact Form</button> <div id="contact"> <form action="#"> <ul> <h1>Contact</h1> <li> <input type="text" name="name" id="name" placeholder=" Full name"> <input type="email" name="email" id="email" placeholder=" Email"> </li> <li> <textarea name="message" id="message" placeholder=" Your message"></textarea> </li> <li> <input type="submit" value="Send message" class="btn" id="submit"> </li> </ul> </form> </div> <script src='https://cdnjs.cloudflare.com/ajax/libs/jquery/3.1.1/jquery.min.js'></script> <script src="function.js"></script> </body> </html> |
style.css
Now create a CSS file named ‘style.css‘ and put these codes given here.
|
1 2 3 4 5 6 7 8 9 10 11 12 13 14 15 16 17 18 19 20 21 22 23 24 25 26 27 28 29 30 31 32 33 34 35 36 37 38 39 40 41 42 43 44 45 46 47 48 49 50 51 52 53 54 55 56 57 58 59 60 61 62 63 64 65 66 67 68 69 70 71 72 73 74 75 76 77 78 79 80 81 82 83 84 85 86 87 88 89 90 91 92 93 94 95 96 97 98 99 100 101 102 103 104 105 106 107 108 109 110 111 112 113 114 115 116 117 118 |
/* Code By Webdevtrick ( https://webdevtrick.com ) */ *{ margin:0; padding:0; } body { font-family: 'Source Sans Pro', sans-serif; background: #ffcb00; } textarea:focus, input:focus{ outline: none; } ul li { list-style: none; } h1{ font-weight: 800; text-transform: uppercase; color: #7a00ff; font-size: 32px; width: 200px; text-align: center; margin: 30px 100px; } ul { display: inline-block } #contact { background: #fff; position: relative; width: 400px; max-width: 100%; margin: 0 auto; box-shadow: 0 10px 20px rgba(0,0,0,.1) } .js #contact { position: absolute; top: 3em; display: none; left:0; right:0; } input { border: 0; margin: 1em 40px; width: 300px; padding: 10px; border-bottom: 2px solid #7a00ff; background: none; font-family: 'Fontawesome', 'Source Sans Pro', sans-serif; display: block; color: #7a00ff; } textarea{ border: 0; width: 300px; height: 100px; display: block; margin-left: 40px; background: none; padding: 10px; font-family: 'Fontawesome', 'Source Sans Pro', sans-serif; border-bottom: 2px solid #7a00ff; color: #7a00ff; } #submit { margin: 3em auto 4em; border: 2px solid #7a00ff; color: #7a00ff; } #submit:hover { color: #fff; } .btn{ background: none; border: 2px solid #252525; box-shadow: 0 0 10px rgba(0, 0, 0, .1); margin: 15em auto; padding: 1.2em 2em; color: #212121; font-family: 'Open Sans'; font-size: 12px; letter-spacing: 1px; text-transform: uppercase; font-weight: 600; cursor: pointer; transition: ease all .3s; display: block; } .btn:hover{ background: #7a00ff; color: #fff; border: #7a00ff solid 2px; } .btn:active{ background: #3333aa; color: #fff; border: #3333aa solid 2px; } .close { position: absolute; right: 20px; top: -10px; cursor: pointer; font-weight: 400; font-size: 3em; color: #ee4444; } @media (max-width: 765px) { textarea{ width: 250px; } input { width: 250px; } } |
function.js
The final step, create a JavaScript file named ‘function.js‘ and put the codes.
|
1 2 3 4 5 6 7 8 9 10 11 12 13 14 15 16 17 18 19 20 21 22 23 24 25 26 27 28 29 30 31 32 33 34 35 36 37 38 39 40 41 42 43 44 45 46 47 48 |
// Code By Webdevtrick ( https://webdevtrick.com ) (function(){ $('html').addClass('js'); var contactForm = { container: $('#contact'), config: { effect: 'slideToggle', speed: 200 }, init: function(config){ $.extend(this.config, config); $('#c-btn').on('click', this.show); }, show: function(){ var cf = contactForm, container = cf.container, config = cf.config; if(container.is(':hidden')){ cf.close.call(container); container[config.effect] (config.speed); } }, close: function(){ var $this = $('#contact'); if($this.find('span.close').length) return; $('<span class=close>-</span>') .prependTo(this) .on('click', function(){ $this[contactForm.config.effect](contactForm.config.speed); }) } }; contactForm.init({ effect: 'fadeToggle', speed: 200 }); })(); |
That’s It. Now you have successfully created Popup Contact Form With Clean and Minimal Design, Expanding Form. If you have any doubt or questions comment down below.
Thanks For Visiting, Keep Visiting.


