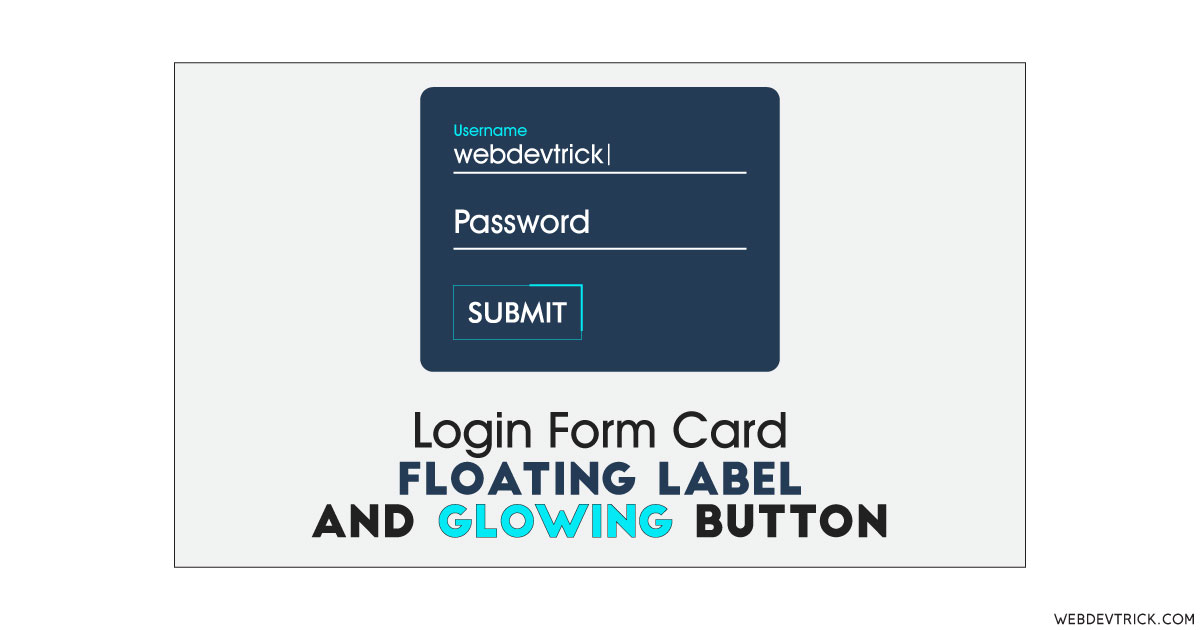
How we can create an attractive login form card with a cool item’s effect? Solution: See this Login Form Card With Floating label And Glowing Button, Login UI.
Previously I have shared some login forms, but this one is a card type with floating labels and neon glowing buttons. Basically, a login form contains 2 inputs and a button, signup form contains many inputs and elements. And nowadays most of the websites use a card or box type element to place login form.
Today you will learn to create a login UI card design. Basically, there is a card that contains a login form with 2 inputs and a button. The first input is for email and the second one is for the password, and the button is to submit or log in. There 2 input have floating labels, when you will click on the input then the label will shift and goes upside. And the login button has a moving border and a neon glow effect on hover.
So, Today I am sharing Login Form Card With Floating label And Glowing Button. There I have used HTML to create the layout and CSS for styling and animations. I think this is a pretty cool and unique login form card that is ready to use. You can use this on your website for creating an attractive UI.
If you are thinking now how this login form card actually is, then see the preview given below.
Preview Of Login UI With Floating Label and Glowing Button
See this video preview to getting an idea of how this login form UI looks like.
Now you can see this program visually, also you can see it live by pressing the button given above. If you like this, then get the source code of its.
You May Also Like:
Login Form Card Source Code
Before sharing source code, let’s talk about it. First I have created the main div with class name ‘login-box’ and placed all the items inside it. Inside the main div, I have placed 2 div sections for 2 inputs. And for the submit button I have used hyperlink tag with multiple span. These spans created for moving line effect. Also in the HTML file, I have linked the CSS file.
Now using CSS I have placed all the items in the right place, as you can see in the preview. With CSS I gave basic values like size, position, margin, padding, etc to all the elements. I have used CSS :focus :valid selectors to create the floating label effect. I have used CSS @keyframe command to create the animation effects. And I have selected the spans separately using nth-child() command.
Left all other things you will understand after getting the codes, I can’t explain all in writing. For creating this program you have to create only 2 files. One file for HTML and one for CSS. Follow the steps to creating this program without any error.
index.html
Create an HTML file named ‘index.html‘ and put these codes given below.
|
1 2 3 4 5 6 7 8 9 10 11 12 13 14 15 16 17 18 19 20 21 22 23 24 25 26 27 28 29 30 31 32 33 34 |
<!DOCTYPE html> <!-- Code By Webdevtrick ( https://webdevtrick.com ) --> <html lang="en" > <head> <meta charset="UTF-8"> <title>Login Form Card | Webdevtrick.com</title> <link rel="stylesheet" href="style.css"> </head> <body> <div class="login-box"> <h2>Login</h2> <form> <div class="user-box"> <input type="text" name="" required=""> <label>Username</label> </div> <div class="user-box"> <input type="password" name="" required=""> <label>Password</label> </div> <a href="#"> <span></span> <span></span> <span></span> <span></span> Submit </a> </form> </div> </body> </html> |
style.css
Now create a CSS file named ‘style.css‘ and put these codes given here.
|
1 2 3 4 5 6 7 8 9 10 11 12 13 14 15 16 17 18 19 20 21 22 23 24 25 26 27 28 29 30 31 32 33 34 35 36 37 38 39 40 41 42 43 44 45 46 47 48 49 50 51 52 53 54 55 56 57 58 59 60 61 62 63 64 65 66 67 68 69 70 71 72 73 74 75 76 77 78 79 80 81 82 83 84 85 86 87 88 89 90 91 92 93 94 95 96 97 98 99 100 101 102 103 104 105 106 107 108 109 110 111 112 113 114 115 116 117 118 119 120 121 122 123 124 125 126 127 128 129 130 131 132 133 134 135 136 137 138 139 140 141 142 143 144 145 146 147 148 149 150 151 152 153 154 155 156 157 158 159 160 161 162 163 164 165 166 167 168 |
/* Code By Webdevtrick ( https://webdevtrick.com ) */ html { height: 100%; } body { margin:0; padding:0; font-family: sans-serif; background: linear-gradient(#141e30, #243b55); } .login-box { position: absolute; top: 50%; left: 50%; width: 400px; padding: 40px; transform: translate(-50%, -50%); background: rgba(0,0,0,.5); box-sizing: border-box; box-shadow: 0 15px 25px rgba(0,0,0,.6); border-radius: 10px; } .login-box h2 { margin: 0 0 30px; padding: 0; color: #fff; text-align: center; } .login-box .user-box { position: relative; } .login-box .user-box input { width: 100%; padding: 10px 0; font-size: 16px; color: #fff; margin-bottom: 30px; border: none; border-bottom: 1px solid #fff; outline: none; background: transparent; } .login-box .user-box label { position: absolute; top:0; left: 0; padding: 10px 0; font-size: 16px; color: #fff; pointer-events: none; transition: .5s; } .login-box .user-box input:focus ~ label, .login-box .user-box input:valid ~ label { top: -20px; left: 0; color: #03e9f4; font-size: 12px; } .login-box form a { position: relative; display: inline-block; padding: 10px 20px; color: #03e9f4; font-size: 16px; text-decoration: none; text-transform: uppercase; overflow: hidden; transition: .5s; margin-top: 40px; letter-spacing: 4px } .login-box a:hover { background: #03e9f4; color: #fff; border-radius: 5px; box-shadow: 0 0 5px #03e9f4, 0 0 25px #03e9f4, 0 0 50px #03e9f4, 0 0 100px #03e9f4; } .login-box a span { position: absolute; display: block; } .login-box a span:nth-child(1) { top: 0; left: -100%; width: 100%; height: 2px; background: linear-gradient(90deg, transparent, #03e9f4); animation: btn-anim1 1s linear infinite; } @keyframes btn-anim1 { 0% { left: -100%; } 50%,100% { left: 100%; } } .login-box a span:nth-child(2) { top: -100%; right: 0; width: 2px; height: 100%; background: linear-gradient(180deg, transparent, #03e9f4); animation: btn-anim2 1s linear infinite; animation-delay: .25s } @keyframes btn-anim2 { 0% { top: -100%; } 50%,100% { top: 100%; } } .login-box a span:nth-child(3) { bottom: 0; right: -100%; width: 100%; height: 2px; background: linear-gradient(270deg, transparent, #03e9f4); animation: btn-anim3 1s linear infinite; animation-delay: .5s } @keyframes btn-anim3 { 0% { right: -100%; } 50%,100% { right: 100%; } } .login-box a span:nth-child(4) { bottom: -100%; left: 0; width: 2px; height: 100%; background: linear-gradient(360deg, transparent, #03e9f4); animation: btn-anim4 1s linear infinite; animation-delay: .75s } @keyframes btn-anim4 { 0% { bottom: -100%; } 50%,100% { bottom: 100%; } } |
That’s It. Now you have successfully created Login Form Card With Floating label And Glowing Button, Login UI. If you have any doubt or question then comment down below.
Thanks For Visiting, Keep Visiting.


The code is not working as presented.
how to create three floating input labels