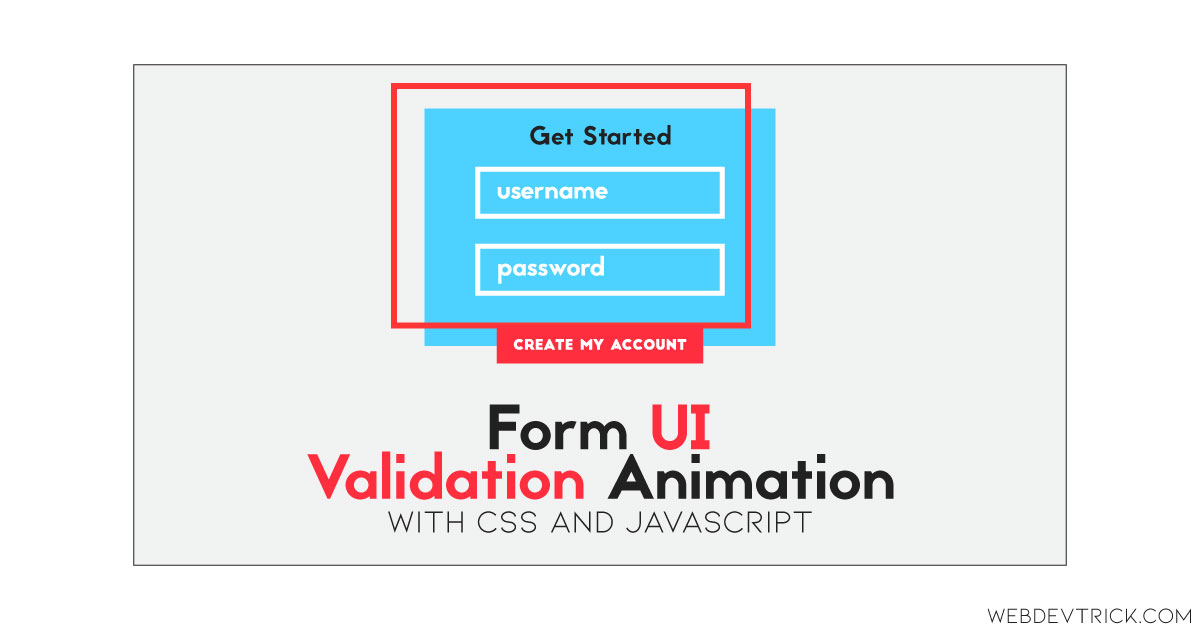
How we can create a validate form prototype UI design? Solution: See this Form UI Validation Animation Using CSS and JavaScript, Validate Inputs in forms.
Previously I have shared many form programs, but this is form validation UI design. Basically, form validation is used to check values in input given by users. Like an email values must need “@” in value, characters before and after “@”, and should be a .(dot) in the given characters. And aa password needs a lower case, uppercase, number, and special characters in the values. These are part of form validation, and we put multiple conditions of validation for multiple inputs.
Today you will learn to create a form UI design with validating inputs. Basically there is a form with two inputs for the email and a password and a button for submitting. There are validation functions for validating email and password in a text message form. And, each input and button has a specific background color for active or focus effect. Also, there are many other little animation effects that make this design more attractive.
So, Today I am sharing Form UI Validation Animation Using CSS and JavaScript. There I have used CSS for styling and JavaScript for functioning and change CSS values dynamically. This is only a UI design concept, you can customize the form and program according to your requirement. You can use this program after backend integration.
If you are thinking now how this form validation program actually is, then see the preview given below.
Preview Of Validate Inputs UI Design
See this video preview to getting an idea of how this program looks like.
Now you can see this program visually, also you can see it live by pressing the button given above. If you like this, then get the source code of its.
You May Also Like:
- Multi-Level Accordion Menu
- 3D Progress Bar Animation
- Rotating Cuboid Form
- Animated Segmented Control
Form UI Validation Animation Using CSS and JavaScript Source Code
Before sharing source code, let’s talk about it. First I have created a main div named container and placed all items inside it. Inside the main div, I have placed a form tag with 3 sections. First for email input and label, second for password input and label, and the third one for submit button and text. Also in the HTML file, I have linked external files like CSS and JavaScript.
Now using CSS I have placed all the elements in the right place, as you can see in the preview. With CSS first I have done basic works like give size, position, margin, padding, etc values to the elements. There I have used CSS transform and transition command to create the animation effect. Alsso I have used input: method to style the inputs.
JavaScript handling here the validation and change CSS values according to it. First, it fetched all elements using document.getElementById command and stored in const. Also, JS changing the background color on input active or focus. After that, I have used JS if{} else{} statement for checking the password and show text according to its strength.
Left all other things you will understand after getting the codes, I can’t explain all in writing. For creating this program you have to create 3 files. First file for HTML, second file for CSS, and the third file for JavaScript. Follow the steps to creating this program without any error.
index.html
Create an HTML file named ‘index.html‘ and put these codes given below.
|
1 2 3 4 5 6 7 8 9 10 11 12 13 14 15 16 17 18 19 20 21 22 23 24 25 26 27 28 29 30 31 32 33 |
<!DOCTYPE html> <!-- Code By Webdevtrick ( https://webdevtrick.com ) --> <html lang="en" > <head> <meta charset="UTF-8"> <title>Form UI Validation | Webdevtrick.com</title> <meta name="viewport" content="width=device-width, initial-scale=1"> <link rel="stylesheet" href="https://cdnjs.cloudflare.com/ajax/libs/normalize/5.0.0/normalize.min.css"> <link rel="stylesheet" href="style.css"> </head> <body> <div class="container"> <form autocomplete="off" id="form"> <h1 id="message">Get Started</h1><small id="smallMessage"> </small> <div class="field"> <input type="email" name="email" placeholder="Email" id="email" autocomplete="off"/> <label for="email">Email</label> </div> <div class="field"> <input type="password" name="password" placeholder="Password" id="password" autocomplete="new-password"/> <label for="password">Password</label> </div> <button id="submit">Create My Account</button> <p>By signing up, I agree to to the Terms of Service and Privacy Policy</p> </form> </div> <script src="function.js"></script> </body> </html> |
style.css
Now create a CSS file named ‘style.css‘ and put these codes given here.
|
1 2 3 4 5 6 7 8 9 10 11 12 13 14 15 16 17 18 19 20 21 22 23 24 25 26 27 28 29 30 31 32 33 34 35 36 37 38 39 40 41 42 43 44 45 46 47 48 49 50 51 52 53 54 55 56 57 58 59 60 61 62 63 64 65 66 67 68 69 70 71 72 73 74 75 76 77 78 79 80 81 82 83 84 85 86 87 88 89 90 91 92 93 94 95 96 97 98 99 100 101 102 103 104 105 106 107 108 109 110 111 112 113 114 115 116 117 118 119 120 121 122 123 124 125 126 127 128 129 130 131 132 133 134 135 136 137 138 139 140 141 142 143 144 145 146 147 148 149 150 151 152 153 154 155 156 157 158 159 160 161 162 163 164 165 166 167 168 |
/* Code By Webdevtrick ( https://webdevtrick.com ) */ body, html { height: 100%; } body { font-family: "Lato", sans-serif; background: #fff; display: -webkit-box; display: flex; -webkit-box-align: center; align-items: center; -webkit-box-orient: vertical; -webkit-box-direction: normal; flex-direction: column; align-content: center; -webkit-box-pack: center; justify-content: center; color: white; } .container { width: 400px; } form { display: -webkit-box; display: flex; -webkit-box-orient: vertical; -webkit-box-direction: normal; flex-direction: column; background: transparent; max-width: 320px; padding: 2rem 2rem 2rem 2rem; position: relative; } form::before, form::after { position: absolute; content: ""; width: 100%; height: 100%; -webkit-transition: all 0.5s ease; transition: all 0.5s ease; } form::before { z-index: -1; background: transparent; -webkit-transform: translateX(-3.5rem) translateY(-3.75rem); transform: translateX(-3.5rem) translateY(-3.75rem); border: 6px solid #ff2a2a; } form::after { background: #4fa4fd; z-index: -2; -webkit-transform: translateX(-2rem) translateY(-2.25rem); transform: translateX(-2rem) translateY(-2.25rem); } form h1 { text-align: center; margin: 0 0 0.25rem 0; padding: 0; font-size: 1.5rem; } form small { display: block; margin: 0 auto 1rem; padding: 0; font-size: 14px; } form:focus-within { background: #4fa4fd; } form:focus-within::before { width: 0%; height: 0%; -webkit-transform: translatex(0px) translatey(0px); transform: translatex(0px) translatey(0px); } form .field { display: -webkit-box; display: flex; -webkit-box-orient: vertical; -webkit-box-direction: reverse; flex-flow: column-reverse; margin-bottom: 1em; } form label, form input { -webkit-transition: all 0.3s ease; transition: all 0.3s ease; touch-action: manipulation; } form label { opacity: 0; } form input { padding: 10px 20px; border: 4px solid white; margin: 0 1.5rem; background-color: transparent !important; -webkit-appearance: none; color: white; } form input:-webkit-autofill { background-color: transparent !important; -webkit-box-shadow: 0 0 0px 1000px #4fa4fd inset; -webkit-text-fill-color: white !important; } form input::-webkit-input-placeholder { color: white; } form input::-moz-placeholder { color: white; } form input:-ms-input-placeholder { color: white; } form input::-ms-input-placeholder { color: white; } form input::placeholder { color: white; } form input:focus { color: #ff2a2a; font-weight: bold; outline: 0; border: 6px solid #ff2a2a; } form input::-webkit-input-placeholder { opacity: 1; -webkit-transition: inherit; transition: inherit; } form input:focus::-webkit-input-placeholder { opacity: 0; } form button { border: none; padding: 0.85rem 1rem; margin-top: 2rem; background-color: #ff2a2a; color: white; font-size: 0.75rem; text-transform: uppercase; width: 65%; position: absolute; bottom: -20px; right: 18%; letter-spacing: 0.15em; -webkit-transition: all 0.3s ease; transition: all 0.3s ease; } form button:hover { border: 6px solid #fff; } form p { font-size: 0.75rem; line-height: 1.125rem; margin: 0.5rem 1.5rem 1.75rem 1.5rem; } form p.success-message { font-size: 1.25rem; text-align: center; line-height: 2rem; margin: 1.5rem auto 5rem auto; } |
function.js
The final step, create a JavaScript file named ‘function.js‘ and put the codes.
|
1 2 3 4 5 6 7 8 9 10 11 12 13 14 15 16 17 18 19 20 21 22 23 24 25 26 27 28 29 30 31 32 33 34 35 36 37 38 39 40 41 42 43 44 45 46 47 48 49 50 51 52 53 54 55 56 57 58 59 60 61 62 63 64 65 66 67 68 69 |
// Code By Webdevtrick ( https://webdevtrick.com ) const form = document.querySelector('form'); const message = document.getElementById('message'); const smallMessage = document.getElementById('smallMessage'); const emailMessage = 'Type your email'; const passwordMessage = 'Choose your password'; const email = document.getElementById('email'); const password = document.getElementById('password'); const submitBtn = document.getElementById('submit'); function firstMessage(){ message.innerHTML = emailMessage; smallMessage.innerHTML = ""; document.body.style.background= '#88C9E8'; } function secondMessage(){ message.innerHTML = passwordMessage; document.body.style.background ='#f8d23c'; } function length(){ if(password.value.length <= 3){ smallMessage.innerHTML = "Make it strong"; } else if(password.value.length > 3 && password.value.length <10){ smallMessage.innerHTML = "Strong as a bull!"; } else if(password.value.length >=10){ smallMessage.innerHTML = "It's unbreakable!!!"; } else{ smallMessage.innerHTML = ""; } } function formValidation(){ //step 1 email //display Type your email when user clicks on input and types, //hide after user clicks on something else email.addEventListener("input",firstMessage); //step 2 password //display Choose your password as user clicks on input //change small message as user enters longer password password.addEventListener('input', secondMessage); password.addEventListener('keyup', length); //step 3 when input 1 and 2 are filled out //display message You're a click away, small message that is why you are here fore submitBtn.addEventListener('mouseover', function(event){ message.innerHTML="You're a click away"; smallMessage.innerHTML = "Do it. That's what you are here for."; document.body.style.background = '#e8eaed'; }); //step 4 button click //display Congratulations, there is a confirmation link in your email submitBtn.addEventListener('click', function(event){ form.innerHTML = ' <h1>Good job!</h1><p class="success-message">There is a confirmation mail is send on given email ID.</p>'; document.body.style.background = '#D7F5DE'; }); } formValidation(); |
That’s It. Now you have successfully created Form UI Validation Animation Using CSS and JavaScript, Validate Inputs Program. If you have any doubt or question comment down below.
Thanks For Visiting, Keep Visiting.


