How we can create a grid-based image gallery using HTML CSS JS? Solution: See this ES6 Modern Image Gallery With Grid View, JavaScript ES6 Gallery.
Previously I have shared some image gallery programs, but this gallery is based on JavaScript ES6. Basically, the gallery is a showcase of images on websites, where users can see all the images. ES6 refers to ECMAScript version 6 which is next version of ES5. ECMAScript 6 or ES6 is just a next-gen syntax of JavaScript nothing else. It will save our time if we compare it to pure JavaScript.
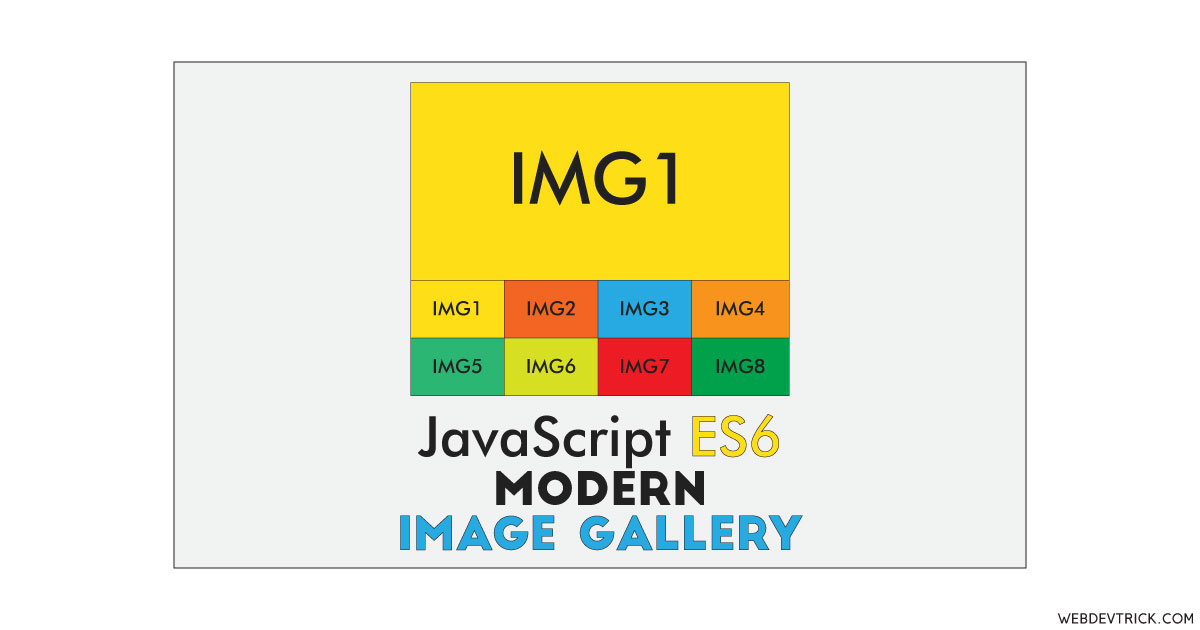
Today you will learn to create a JavaScript ES6 Gallery program. Basically, 8 small boxes for thumbnail and a big box to show the selected or active image. There is a grid layout, where 8 small grids placed in the bottom for preview images and the big grid placed above the preview boxes. You can simply choose an image by click over it, and the selected image will show in the big grid box.
So, Today I am sharing ES6 Modern Image Gallery With Grid View. There I have used HTML to create the layout, CSS for styling and responsive design, JavaScript for functioning. This is a short but useful program if you have good knowledge of JS then its time to start learning ES6. You can use this program on your website after changing the images.
If you are thinking now how this image gallery actually is, then see the preview given below.
Preview Of JavaScript ECMAScript 6 Gallery
See this video preview to getting an idea of how this gallery looks like.
Now you can see this program visually, also you can see it live by pressing the button given above. If you like this, then get the source code of its.
You May Also Like:
ES6 Modern Image Gallery Source Code
Before sharing source code, let’s talk about it. First I have created the main div named ‘container’ and placed all other items inside it. Inside the main div, I have placed 2 div sections, one to show the selected image and to place all the images with thumbnail size. Also in the HTML file, I have linked external files CSS and JS.
Now using CSS I have placed all the images in right place, as you can see in the preview. First I gave basic values like size, position, margin, etc to the elements using CSS. There I have used grid display command display: grid; to create the layout and used @keyframe command to create animation. Also, I have used the @media query to gave grid values for the small screens for responsive design.
JavaScript handling here the changing image according to click function. There JS fetched all the elements using document.querySelector command and stored in const. Now detects the click using .addEventListener command changes the current image according to it. Also add the animation using .classList.add command.
Left all other things you will understand after getting the codes, I can’t explain all in writing. For creating this program you have to create 3 files. First file for HTML, second for CSS, and third for JavaScript. Follow the steps to creating this program without any error.
index.html
Create an HTML file named ‘index.html‘ and put these codes given below.
|
1 2 3 4 5 6 7 8 9 10 11 12 13 14 15 16 17 18 19 20 21 22 23 24 25 26 27 28 29 30 31 32 33 |
<!DOCTYPE html> <!--Code By Webdevtrick ( https://webdevtrick.com )--> <html lang="en" > <head> <meta charset="UTF-8"> <title>Modern Image Gallery With ES6 | Webdevtrick.com</title> <link rel="stylesheet" href="style.css"> </head> <body> <div class="container"> <div class="main-img"> <img src="https://webdevtrick.com/wp-content/uploads/programming.jpg" id="current"> </div> <div class="imgs"> <img src="https://webdevtrick.com/wp-content/uploads/programming.jpg"> <img src="https://webdevtrick.com/wp-content/uploads/hardware.jpg"> <img src="https://webdevtrick.com/wp-content/uploads/gadget.jpg"> <img src="https://webdevtrick.com/wp-content/uploads/design.jpg"> <img src="https://webdevtrick.com/wp-content/uploads/cons.jpg"> <img src="https://webdevtrick.com/wp-content/uploads/auto.jpg"> <img src="https://webdevtrick.com/wp-content/uploads/sunset-background.jpg"> <img src="https://webdevtrick.com/wp-content/uploads/1st.jpg"> </div> </div> <script src="function.js"></script> </body> </html> |
style.css
Now create a CSS file named ‘style.css‘ and put these codes given here.
|
1 2 3 4 5 6 7 8 9 10 11 12 13 14 15 16 17 18 19 20 21 22 23 24 25 26 27 28 29 30 31 32 33 34 35 36 37 38 39 40 41 42 43 44 45 46 47 48 49 |
/* Code By Webdevtrick ( https://webdevtrick.com ) */ :root { --fade-time: 0.5s; } body { margin: 20px; padding: 0; background: #333; } .container { max-width: 760px; margin: auto; border: #fff solid 3px; background: #fff; } .main-img img, .imgs img { width: 100%; } .imgs { display: grid; grid-template-columns: repeat(4, 1fr); grid-gap: 5px; } .imgs img { cursor: pointer; } @keyframes fadeIn { to { opacity: 1; } } .fade-in { opacity: 0; animation: fadeIn var(--fade-time) ease-in 1 forwards; } @media(max-width: 600px) { .imgs { grid-template-columns: repeat(2, 1fr); } } |
function.js
The final step, create a JavaScript file named ‘function.js‘ and put the codes.
|
1 2 3 4 5 6 7 8 9 10 11 12 13 14 15 16 17 18 19 20 21 22 23 24 25 26 27 |
// Code By Webdevtrick ( https://webdevtrick.com ) const current = document.querySelector('#current'); const imgs = document.querySelector('.imgs'); const img = document.querySelectorAll('.imgs img'); const opacity = 0.6; // Set first img opacity img[0].style.opacity = opacity; imgs.addEventListener('click', imgClick); function imgClick(e) { // Reset the opacity img.forEach(img => (img.style.opacity = 1)); // Change current image to src of clicked image current.src = e.target.src; // Add fade in class current.classList.add('fade-in'); // Remove fade-in class after .5 seconds setTimeout(() => current.classList.remove('fade-in'), 500); // Change the opacity to opacity var e.target.style.opacity = opacity; } |
That’s It. Now you have successfully created ES6 Modern Image Gallery With Grid View, JavaScript ES6 Gallery. If you have any doubt or questions comment down below.
Thanks For Visiting, Keep Visiting.


