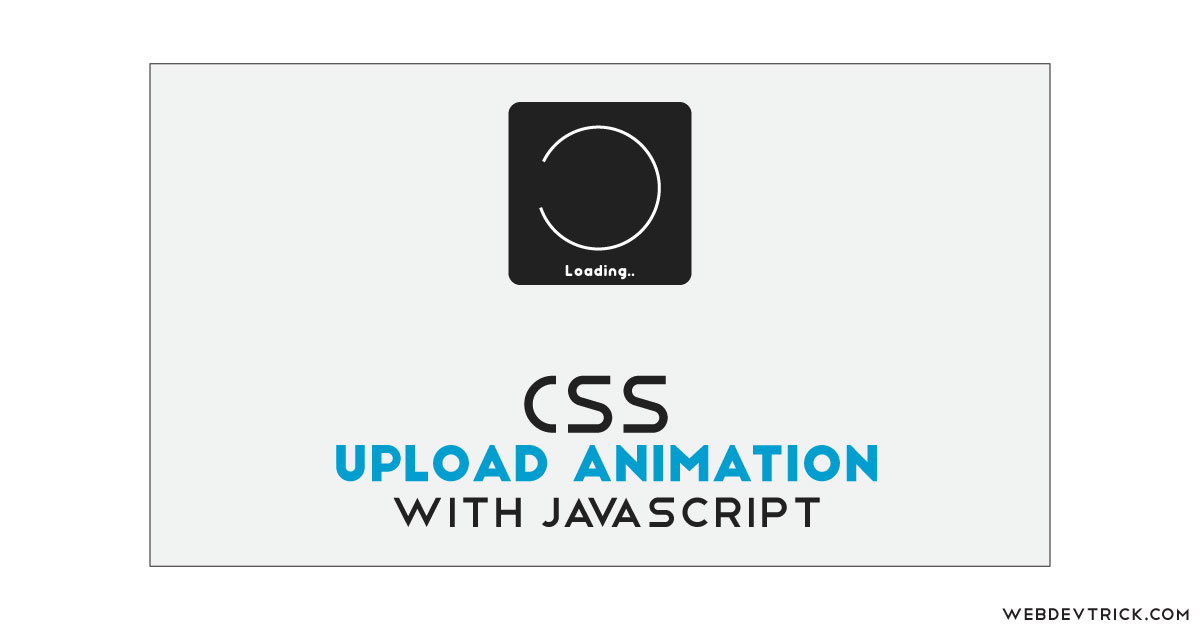
How we can create an uploading animation using HTML, CSS, and JS? Solution: See this CSS Upload Animation With JavaScript, Uploading Animation Effect.
Previously I have shared JavaScript Custom Upload input, but this is just an animation for uploading period. Basically, when we upload files of photos on any website like social media, then there is a type of animation shows the upload process. Those animations are connected to backend and show actual progress. But this program is a dummy for showing how we can create these.
Today you will learn to create an Uploading Animation Effect. Basically there is a rounded rectangle with a text “Drop Here” and dark background color. When you will click on the rectangle then your file manager will open to browse or select a file. After selecting any file, you will see circle progress over the rounded-rectangle field after complete progress a tick icon will reveal.
So, Today I am sharing CSS Upload Animation With JavaScript. There I have used pure JavaScript for creating some important functions for the program like drag and drop. And the animation effect is completely based on CSS, there is no library. You can use this animation by integrating with backend for showing actual progress, because it is a dummy.
If you are thinking now how this upload animation actually is, then see the preview given below.
Preview Of Drag & Drop Uploading Animation Effect
See this video preview to getting an idea of how the animation looks like.
Now you can see this visually, also you can see it live by pressing the button given above. If you like this, then get the source code of its.
You May Also Like:
CSS Upload Animation With JavaScript Source Code
Before sharing source code, let’s talk about it. First I have created the layout by creating the main div and placed other elements inside it. Inside the main div, I have placed a file input, two divs, and two SVG shapes. The first SVG shape is a circle for showing progress and the second one is for tick mark or icon.
Now using CSS I have placed all the elements in the right place, as you can see in the preview. I gave the elements like rectangle, loading icon, and tick icon size by giving width and height. There I have used CSS variables to store values and easy work (info). In the whole animation, I have mostly used CSS transiton command. And for creating the animation effect I have used @keyframe property.
JavaScript handling here the drag and drop feature. This feature is based on JS dragover command and fetched the upload section using document.querySelector command. Left all other things you will understand after getting the codes, I can’t explain fully in writing. For creating this program you have to create 3 files. First file for HTML, second for CSS, and the third for JavaScript. Follow the steps to creating this without any error.
index.html
Create an HTML file named ‘index.html‘ and put these codes given below.
|
1 2 3 4 5 6 7 8 9 10 11 12 13 14 15 16 17 18 19 20 21 22 23 24 25 26 27 28 29 |
<!DOCTYPE html> <!-- Code By Webdevtrick ( https://webdevtrick.com ) --> <html lang="en" > <head> <meta charset="UTF-8"> <title>Upload Animation | Webdevtrick.com</title> <link rel="stylesheet" href="https://cdnjs.cloudflare.com/ajax/libs/meyer-reset/2.0/reset.min.css"> <link rel='stylesheet' href='https://fonts.googleapis.com/css?family=Roboto&display=swap'> <link rel="stylesheet" href="./style.css"> </head> <body> <div class="upload"> <input type="file" title="" class="drop-here"> <div class="text text-drop">drop here</div> <div class="text text-upload">uploading</div> <svg class="progress-wrapper" width="300" height="300"> <circle class="progress" r="115" cx="150" cy="150"></circle> </svg> <svg class="check-wrapper" width="130" height="130"> <polyline class="check" points="100.2,40.2 51.5,88.8 29.8,67.5 "/> </svg> </div> <script src="function.js"></script> </body> </html> |
style.css
Now create a CSS file named ‘style.css‘ and put these codes given here.
|
1 2 3 4 5 6 7 8 9 10 11 12 13 14 15 16 17 18 19 20 21 22 23 24 25 26 27 28 29 30 31 32 33 34 35 36 37 38 39 40 41 42 43 44 45 46 47 48 49 50 51 52 53 54 55 56 57 58 59 60 61 62 63 64 65 66 67 68 69 70 71 72 73 74 75 76 77 78 79 80 81 82 83 84 85 86 87 88 89 90 91 92 93 94 95 96 97 98 99 100 101 102 103 104 105 106 107 108 109 110 111 112 113 114 115 116 117 118 119 120 121 122 123 124 125 126 127 128 129 130 131 132 133 134 135 136 137 138 139 140 141 142 143 144 145 146 147 148 149 150 151 152 153 154 155 156 157 158 159 160 161 162 163 164 165 166 167 168 169 170 171 172 173 174 175 176 177 178 179 180 181 182 183 184 185 186 187 188 189 190 191 192 193 194 195 196 197 198 199 |
/* Code By Webdevtrick ( https://webdevtrick.com ) */ body { background: #E8EBF3; height: 100vh; font-family: 'Roboto', sans-serif; font-size: 16px; display: flex; flex-direction: column; justify-content: center; align-items: center; } .upload { --background: #212121; --text-drop: #fff; --text-upload: #fff; --progress-color: #fff; --check-color: var(--text-upload); --border-radius: 30px; width: 250px; height: 250px; position: relative; display: flex; justify-content: center; align-items: center; } .upload::before { content: ""; display: block; width: 100%; height: 100%; background: var(--background); border-radius: var(--border-radius); transition: all .3s ease-out; box-shadow: var(--shadow-x, 0px) var(--shadow-y, 1px) var(--shadow-blur, 3px) rgba(0, 0, 0, 0.1); -webkit-transform: scale(var(--scale, 1)); transform: scale(var(--scale, 1)); } .upload .drop-here { position: absolute; width: 100%; height: 100%; outline: none; border-radius: var(--border-radius); opacity: var(--opacity, 0); overflow: hidden; cursor: pointer; text-indent: -9999px; z-index: 1; } .upload .text { position: absolute; font-size: 21px; text-transform: uppercase; letter-spacing: 2px; font-weight: bold; } .upload .text.text-drop { color: var(--text-drop); opacity: var(--opacity, 1); transition: opacity .15s ease-out .15s; } .upload .text.text-upload { color: var(--text-upload); opacity: var(--opacity, 0); transition: opacity .15s ease-out; } .upload .progress-wrapper { position: absolute; } .upload .progress-wrapper .progress { fill: none; stroke: var(--progress-color); stroke-width: 3; stroke-dasharray: 722; stroke-dashoffset: 722; } .upload .check-wrapper { position: absolute; opacity: var(--opacity, 0); -webkit-transform: scale(var(--scale, 0.9)) rotate(var(--rotate, 3deg)); transform: scale(var(--scale, 0.9)) rotate(var(--rotate, 3deg)); transition: opacity .15s ease-in, -webkit-transform .15s ease-in-out; transition: transform .15s ease-in-out, opacity .15s ease-in; transition: transform .15s ease-in-out, opacity .15s ease-in, -webkit-transform .15s ease-in-out; } .upload .check-wrapper .check { width: 100px; width: 100px; fill: none; stroke: var(--check-color); stroke-width: 7; stroke-linecap: round; stroke-linejoin: round; stroke-dasharray: 100 0; stroke-dashoffset: 100; } .upload .shadow { opacity: var(--opacity, 0); overflow: hidden; position: absolute; height: 100%; width: 100%; border-radius: var(--border-radius); -webkit-filter: blur(25px); filter: blur(25px); z-index: -1; transition: all .5s ease; } .upload .shadow::before { content: ''; position: absolute; top: -25%; left: -25%; height: 150%; width: 150%; -webkit-animation: shadow-animate 5s linear infinite; animation: shadow-animate 5s linear infinite; } .upload.drag { --scale: 1.03; --shadow-y: 5px; --shadow-blur: 20px; } .upload.drop .text.text-drop { --opacity: 0; transition: opacity .15s ease-out; } .upload.drop .text.text-upload { --opacity: 1; transition: opacity .15s ease-out .15s; } .upload.drop .shadow { --opacity: 1; } .upload.drop .progress-wrapper { opacity: var(--opacity, 1); -webkit-transform: scale(var(--scale, 1)) rotate(var(--rotate, -90deg)); transform: scale(var(--scale, 1)) rotate(var(--rotate, -90deg)); } .upload.drop .progress-wrapper .progress { -webkit-animation: progress 3s ease .3s forwards; animation: progress 3s ease .3s forwards; } .upload.done { --opacity: 0; } .upload.done .text.text-upload { --opacity: 0; } .upload.done .shadow { --opacity: 0; } .upload.done .progress-wrapper { --scale: .95; transition: opacity .3s, -webkit-transform .3s; transition: transform .3s, opacity .3s; transition: transform .3s, opacity .3s, -webkit-transform .3s; } .upload.done .check-wrapper { --opacity: 1; --scale: 1; --rotate: 0deg; transition: opacity .5s ease-in .3s, -webkit-transform .5s ease-in-out .3s; transition: transform .5s ease-in-out .3s, opacity .5s ease-in .3s; transition: transform .5s ease-in-out .3s, opacity .5s ease-in .3s, -webkit-transform .5s ease-in-out .3s; } .upload.done .check-wrapper .check { -webkit-animation: checkTick .5s ease-in-out .3s forwards; animation: checkTick .5s ease-in-out .3s forwards; } @keyframes progress { 0% { stroke-dashoffset: 722; } 20% { stroke-dashoffset: 500; } 50% { stroke-dashoffset: 322; } 55% { stroke-dashoffset: 300; } 100% { stroke-dashoffset: 0; } } @keyframes checkTick { 0% { stroke-dasharray: 0 100; stroke-dashoffset: 0; } 100% { stroke-dasharray: 100 0; stroke-dashoffset: 100; } } |
function.js
The final step, Create a JavaScript file named ‘function.js‘ and put the codes.
|
1 2 3 4 5 6 7 8 9 10 11 12 13 14 15 16 17 18 19 20 |
// Code By Webdevtrick ( https://webdevtrick.com ) var fileUpload = document.querySelector(".upload"); fileUpload.addEventListener("dragover", function() { this.classList.add("drag"); this.classList.remove("drop", "done"); }); fileUpload.addEventListener("dragleave", function() { this.classList.remove("drag"); }); fileUpload.addEventListener("drop", start, false); fileUpload.addEventListener("change", start, false); function start() { this.classList.remove("drag"); this.classList.add("drop"); setTimeout(() => this.classList.add("done"), 3000); } |
That’s It. Now you have successfully created CSS Upload Animation With JavaScript, Drag and Drop Uploading Animation Effect. If you have any doubt or question comment down below.
Thanks For Visiting, Keep Visiting.


