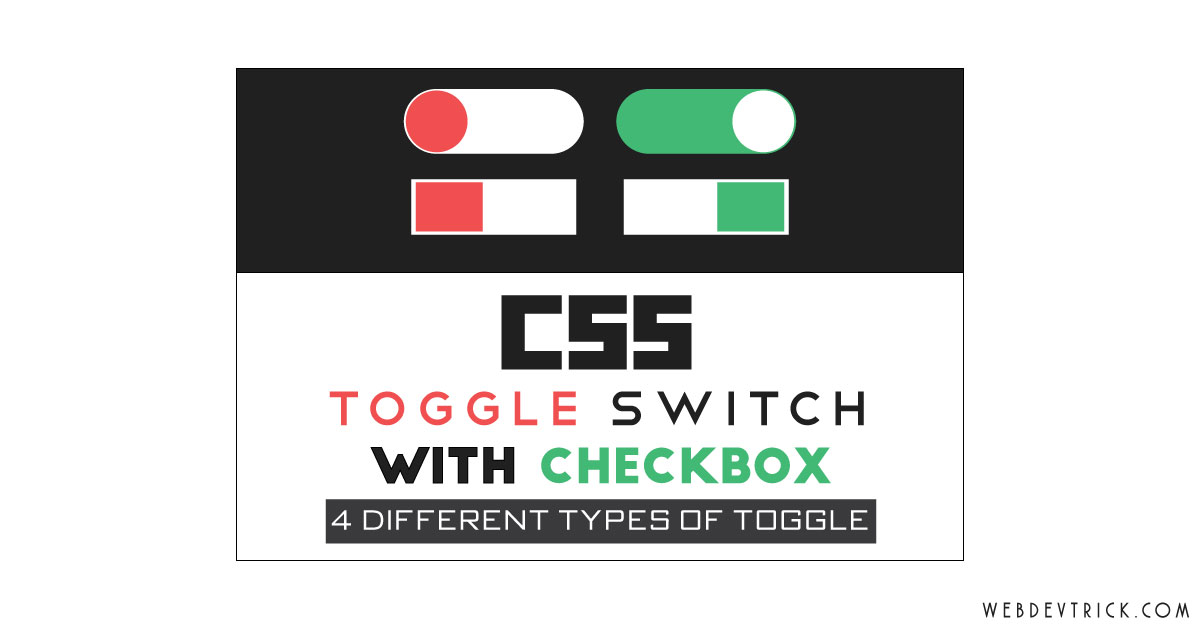
How we can create different types of toggle buttons using HTML & CSS. Solution: CSS Toggle Switch With Checkbox, 4 Different Checkbox Input Based Toggle Button.
In earlier days, I have shared a toggle button using CSS. You can use toggle buttons in many places on the webpage, like for visible password button, if you have dark & light mode then you can use it on there for switching. The toggle switch is one kind of on-off button, It just has two feature on & off in single button.
Today you will learn to create HTML checkbox input based toggle buttons. There are 4 different kinds of the toggle switch is built-in pure CSS & HTML. You can use these buttons on your next project, I think this post will be very helpful if you are a beginner. There are a lot of CSS properties you should learn or revise.
So, Today I am sharing CSS Toggle Switch With Checkbox Inputs, 4 Different Input Based Toggle Buttons. All four switches are based on the same HTML input checkbox. The 4 types of switch buttons are:
- Round Toggle Button
- Round Inverse Toggle
- Rectangle Slide Toggle
- Rectangle Flip Toggle
If you are thinking now how these toggles are actually is, then see the preview given below.
Preview Of 4 Different Input Based Toggle Buttons
See this video preview to getting an idea of how these switches look like.
Now you can see these visually. If you like these, then get the source code of its.
You May Also Like:
CSS Toggle Switch With Checkbox Source Code
Before sharing source code, let’s talk about it. First, I have created list to place the buttons, inside the list I added 4 HTML checkbox input using <input type="checkbox"> . After that, I put separate labels for each input. The same method I added for labels id & for <input type="checkbox" id="toggle"> and <label for="toggle"> (info).
For all the similar types of style I have placed the class on the list otherwise, I put the different class on each input. For the animation delay, I have used CSS transition: 0.4s easy-in command. All the effects are based on CSS :before and :after properties & margin for left and right.
All codes are basics & easy to understand, You will understand easily after getting the codes. For creating these toggle buttons you have to create only 2 files, One for HTML & one for CSS. Follow the steps to creating this design without any error.
index.html
Create an HTML file named ‘index.html‘ and put these codes given here below.
|
1 2 3 4 5 6 7 8 9 10 11 12 13 14 15 16 17 18 19 20 21 22 23 24 25 26 27 28 29 30 31 32 33 34 35 36 37 38 39 40 41 42 |
<!DOCTYPE html> <!--Code By Webdevtrick ( https://webdevtrick.com )--> <html lang="en" > <head> <meta charset="UTF-8"> <title>CSS Checkbos Toggle Animation | Webdevtrick.com</title> <link href="https://fonts.googleapis.com/css?family=Roboto&display=swap" rel="stylesheet"> <link href="style.css" rel="stylesheet"> </head> <body> <div class="wrapper"> <ul class="form-fields"> <li class="field check-round slide"> <input type="checkbox" name="check-slide" id="check-slide" /> <label for="check-slide">Round <span></span></label> </li> <li class="field check-round slide-inverse"> <input type="checkbox" id="check-slide-i" /> <label for="check-slide-i">Round Inverse <span></span></label> </li> <li class="field check-square slide-top"> <input type="checkbox" name="check-slide-a" id="check-slide-a" /> <label for="check-slide-a">Rectange Slider <span></span></label> </li> <li class="field check-square flip-top"> <input type="checkbox" name="check-slide-b" id="check-slide-b" /> <label for="check-slide-b">Rectange Flip <span></span></label> </li> </ul> </div> </body> </html> |
style.css
Now create a CSS file named ‘style.css‘ and put these codes given here.
|
1 2 3 4 5 6 7 8 9 10 11 12 13 14 15 16 17 18 19 20 21 22 23 24 25 26 27 28 29 30 31 32 33 34 35 36 37 38 39 40 41 42 43 44 45 46 47 48 49 50 51 52 53 54 55 56 57 58 59 60 61 62 63 64 65 66 67 68 69 70 71 72 73 74 75 76 77 78 79 80 81 82 83 84 85 86 87 88 89 90 91 92 93 94 95 96 97 98 99 100 101 102 103 104 105 106 107 108 109 110 111 112 113 114 115 116 117 118 119 120 121 122 123 124 125 126 127 128 129 130 131 132 133 134 135 136 137 138 139 140 141 142 143 144 145 146 |
/** Code By Webdevtrick ( https://webdevtrick.com ) **/ body { font-family: 'Roboto', sans-serif; background: #212121; font-size: 16px; } ul li { list-style-type: none; } .wrapper { width: 550px; margin: 85px auto; } .form-fields { background: #ecf0f1; } .field { padding: 15px; } .field:first-child { border-top: none; } input[type="checkbox"] { display: none; } .field { display: relative; } .field label { position: relative; line-height: 32px; display: block; } .field label:before, .field label:after, .field label span:before, .field label span:after { content: ''; display: block; position: absolute; } .field label span { position: relative; cursor: pointer; display: block; float: right; } .check-round label span { border-radius: 16px; height: 32px; width: 64px; } .check-round label span:before { border-radius: 50%; height: 28px; width: 28px; left: 2px; top: 2px; } .check-round input:checked + label span:before { left: 34px; } .check-round.slide label span { background: #e74c3c; transition: background 0.4s ease-in; } .check-round.slide label span:before { background: #ECF0F1; transition: left 0.4s ease-in; } .check-round.slide input:checked + label span { background: #2ecc71; } .check-round.slide-inverse label span { background: #ECF0F1; border: 1px solid #bdc3c7; } .check-round.slide-inverse label span:before { background: #e74c3c; transition: left 0.4s ease-in, background 0.4s ease-in; } .check-round.slide-inverse input:checked + label span:before { background: #2ecc71; } .check-square label span { height: 32px; width: 64px; } .check-square label span:before { height: 100%; width: 50%; top: -1px; border: 1px solid #bdc3c7; } .check-square label span:after { height: 100%; width: 50%; left: 0px; } .check-square.slide-top label span { background: #e74c3c; transition: background 0.4s ease-in; } .check-square.slide-top label span:before { background: #ECF0F1; transition: left 0.4s ease-in; } .check-square.slide-top label span:after { transition: left 0.4s ease-in; } .check-square.slide-top input:checked + label span:before, .check-square.slide-top input:checked + label span:after { left: 34px; } .check-square.slide-top input:checked + label span { background: #2ecc71; } .check-square.flip-top label { perspective: 250px; } .check-square.flip-top label span { background: #e74c3c; } .check-square.flip-top label span:before { left: -2px; transform-origin: center right; transform: rotateX(0deg) rotateZ(0deg) rotateY(0deg); background: #ECF0F1; transition: all 0.6s ease-in; z-index: 101; } .check-square.flip-top label span:after { background: #2ecc71; z-index: 100; } .check-square.flip-top input:checked + label span:before, .check-square.flip-top input:checked + label span:after { transform: rotateX(0deg) rotateY(180deg) rotateY(0deg); } |
That’s It. Now you have successfully created CSS Toggle Switch With Checkbox Input. In other words, 4 Different Input Based Toggle Buttons. If you have any doubt or question comment down below.
Thanks For Visiting, Keep Visiting.


Apka blog chrome ke articles me kaise ata please tell me