How we can create a floating action widget using HTML CSS JS? Solution: See this Circular Floating Action With CSS and JavaScript, Floating Actions Widget.
Previously I have shared a circular sharing widget, but this is a floating action program in a circular layout. Basically, this type of action widget can contain important actions like call, email, message, etc. And floating actions that float on air, which are not static or fixed in a specific position. The actions reveal on click like many websites customer care support.
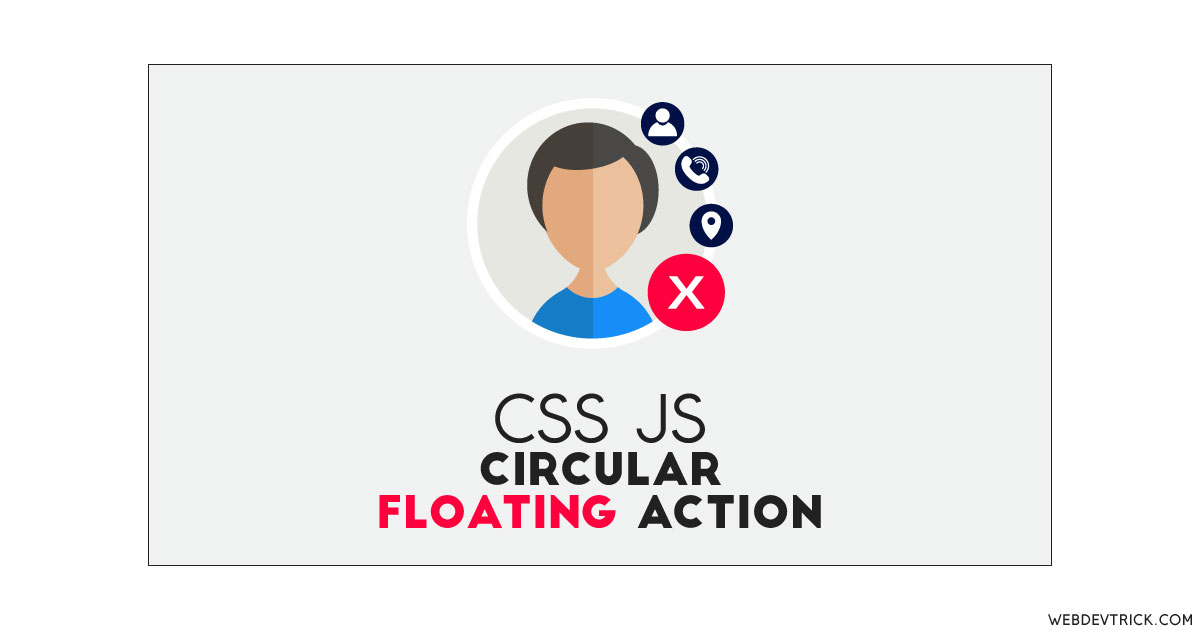
Today you will learn to create Floating Actions Widget. Basically there is a circle shape image with a circular button. Then the button contains a ‘+’ icon when you will click it 3 items will reveal in the path of the circle’s border. In other words, All these buttons will reveal in a circular path. After revealing all items, then ‘+’ icon becomes a cross icon and indicates the close button. After clicking on that, all items will hide again with the same animation.
So, Today I am sharing Circular Floating Action With CSS and JavaScript. There I have used HTML to create the layout, CSS for styling, and JavaScript for functioning. I have a great idea, you can use this program in your member’s area, where users can see your member’s photo and call, message, email, etc easily. You can use it on your website after some modifications like changing images and links.
If you are thinking now how this floating action widget actually is, then see the preview given below.
Preview Of CSS JavaScript Floating Actions Widget
See this video preview to getting an idea of how this widget looks like.
Now you can see this program visually, also you can see it live by pressing the button given above. If you like this, then get the source code of its.
You May Also Like:
Circular Floating Action Source Code
Before sharing source code, let’s talk about it. First I have created the main div with class name ‘main-wrapper’ and put all the items inside it. Now inside the main div, I have placed an image, an icon for add and cross, and 3 other icons. All these icons are in a circular shape, which reveals in a circular path of image’s border/. Also in the HTML file, I have linked other files like CSS and JavaScript.
Now using CSS I have placed all the items in the right place, as you can see in the preview. With CSS first I gave basic values like size, position, margin, padding, etc to all the elements. There I have used flex display command to create the layout. And I have used CSS transform command to create the transformation and transition command for animation.
JavaScript handling here animated reveal and hide feature in this program. There I have used .querySelector to fetch elements and stored in variables. Now I have used if{} else{} statements to declare the conditions. Also used for loop for{} command to run the condition to end length.
Left all other things you will understand after getting the codes, I can’t explain all in writing. For creating this program you have to create 3 files. First file for HTML, second for CSS, and the third file for JavaScript. Follow the steps to creating this program without any error.
index.html
Create an HTML file named ‘index.html‘ and put these codes given below.
|
1 2 3 4 5 6 7 8 9 10 11 12 13 14 15 16 17 18 19 20 21 22 23 24 25 26 27 28 29 30 31 32 33 34 35 36 37 38 39 |
<!DOCTYPE html> <html lang="en" > <head> <meta charset="UTF-8"> <title>Circular Floating Action | Webdevtrick.com</title> <link href="https://fonts.googleapis.com/icon?family=Material+Icons" rel="stylesheet"> <link rel="stylesheet" href="style.css"> </head> <body> <div class="main-wrapper"> <div class="button"> <i class="material-icons">add</i> </div> <div class="main-wrapper-inside"> <img src="https://webdevtrick.com/wp-content/uploads/circle-user.png"> </div> <div class="button-wrapper first"> <div class="button-inside first"> <i class="material-icons">chat</i> </div> </div> <div class="button-wrapper second"> <div class="button-inside second"> <i class="material-icons">phone</i> </div> </div> <div class="button-wrapper third"> <div class="button-inside third"> <i class="material-icons">videocam</i> </div> </div> </div> <script src="function.js"></script> </body> </html> |
style.css
Now create a CSS file named ‘style.css‘ and put these codes given here.
|
1 2 3 4 5 6 7 8 9 10 11 12 13 14 15 16 17 18 19 20 21 22 23 24 25 26 27 28 29 30 31 32 33 34 35 36 37 38 39 40 41 42 43 44 45 46 47 48 49 50 51 52 53 54 55 56 57 58 59 60 61 62 63 64 65 66 67 68 69 70 71 72 73 74 75 76 77 78 79 80 81 82 83 84 85 86 87 88 89 90 91 92 93 94 95 96 97 98 99 100 101 102 103 104 105 106 107 108 109 110 111 112 113 114 115 116 117 118 119 120 121 122 123 124 125 126 127 128 129 130 131 132 133 134 135 136 137 138 139 140 141 142 143 144 145 146 147 148 149 150 151 152 153 154 155 156 157 158 159 160 161 162 163 164 165 166 167 168 169 170 171 172 173 174 175 176 177 178 179 180 181 |
* { box-sizing: border-box; user-select: none; } html { height: 100%; } body { display: -webkit-box; display: -ms-flexbox; display: flex; -webkit-box-align: center; -ms-flex-align: center; align-items: center; -webkit-box-pack: center; -ms-flex-pack: center; justify-content: center; height: 100%; padding: 0; margin: 0; background-color: rgba(225, 225, 225, 0.67); } .material-icons { color: #fff; font-size: 34px; } .button-inside .material-icons { font-size: 16px; } .main-wrapper { width: 200px; height: 200px; position: relative; border-radius: 50%; display: -webkit-box; display: -webkit-flex; display: -ms-flexbox; display: flex; -webkit-box-align: center; -webkit-align-items: center; -ms-flex-align: center; align-items: center; -webkit-box-pack: center; -webkit-justify-content: center; -ms-flex-pack: center; justify-content: center; box-shadow: 0px 4px 8px rgba(0, 0, 0, 0.2); } .main-wrapper-inside { width: 200px; height: 200px; position: relative; } .button { border-radius: 50%; width: 58px; height: 58px; background-color: #ff0033; position: absolute; bottom: 0; right: 0; z-index: 6; display: -webkit-box; display: -webkit-flex; display: -ms-flexbox; display: flex; -webkit-box-align: center; -webkit-align-items: center; -ms-flex-align: center; align-items: center; -webkit-box-pack: center; -webkit-justify-content: center; -ms-flex-pack: center; justify-content: center; cursor: pointer; -webkit-transition: all 500ms cubic-bezier(0.19, 1, 0.22, 1); transition: all 500ms cubic-bezier(0.19, 1, 0.22, 1); box-shadow: -1px 2px 12px rgba(0, 0, 0, 0.4); will-change: transform; } .button .material-icons { -webkit-transition: transform 200ms cubic-bezier(0.19, 1, 0.22, 1); transition: transform 200ms cubic-bezier(0.19, 1, 0.22, 1); will-change: transform; transform-origin: center center; } .button.animation { background-color: #ff0029; } .button.animation .material-icons { -webkit-transform: rotate(-45deg) translateZ(0); transform: rotate(-45deg) translateZ(0); } .button-wrapper { width: 200px; height: 200px; position: absolute; border-radius: 50%; display: -webkit-box; display: -webkit-flex; display: -ms-flexbox; display: flex; -webkit-box-align: center; -webkit-align-items: center; -ms-flex-align: center; align-items: center; -webkit-box-pack: center; -webkit-justify-content: center; -ms-flex-pack: center; justify-content: center; -webkit-transition: transform 400ms cubic-bezier(0.07, 1.1, 0.28, 1.01); transition: transform 400ms cubic-bezier(0.07, 1.1, 0.28, 1.01); will-change: transform; } .button-wrapper.animation { -webkit-transition: transform 500ms cubic-bezier(0.19, 1, 0.22, 1); transition: transform 500ms cubic-bezier(0.19, 1, 0.22, 1); will-change: transform; } .button-wrapper.first.animation { transform: rotate(-36deg) translateZ(0); } .button-wrapper.second.animation { transform: rotate(-68deg) translateZ(0); } .button-wrapper.third.animation { transform: rotate(-100deg) translateZ(0); } .button-inside { border-radius: 50%; width: 44px; height: 44px; position: absolute; bottom: 3px; right: 3px; display: -webkit-box; display: -webkit-flex; display: -ms-flexbox; display: flex; -webkit-box-align: center; -webkit-align-items: center; -ms-flex-align: center; align-items: center; -webkit-box-pack: center; -webkit-justify-content: center; -ms-flex-pack: center; justify-content: center; color: #fff; cursor: pointer; } .button-inside.first { background-color: #ff0033; transform: rotate(36deg); } .button-inside.second { background-color: #ff0033; transform: rotate(68deg); } .button-inside.third { background-color: #ff0033; transform: rotate(100deg); } |
function.js
The final step, create a JavaScript file named ‘function.js‘ and put the codes.
|
1 2 3 4 5 6 7 8 9 10 11 12 13 14 15 16 17 18 19 20 |
var btn = document.querySelector('.button'); var buttonWrapper = document.querySelectorAll('.button-wrapper'); btn.addEventListener('click', function(){ if(btn.classList.contains('animation')) { btn.classList.remove('animation'); } else { btn.classList.add('animation'); } for (i = 0; i < buttonWrapper.length; i++ ) { if(buttonWrapper[i].classList.contains('animation')){ buttonWrapper[i].classList.remove('animation'); } else { buttonWrapper[i].classList.add('animation'); } } }); |
That’s It. Now you have successfully created Circular Floating Action With CSS and JavaScript, Floating Actions Widget. If you have any doubt or question comment down below.
Thanks For Visiting, Keep Visiting.


