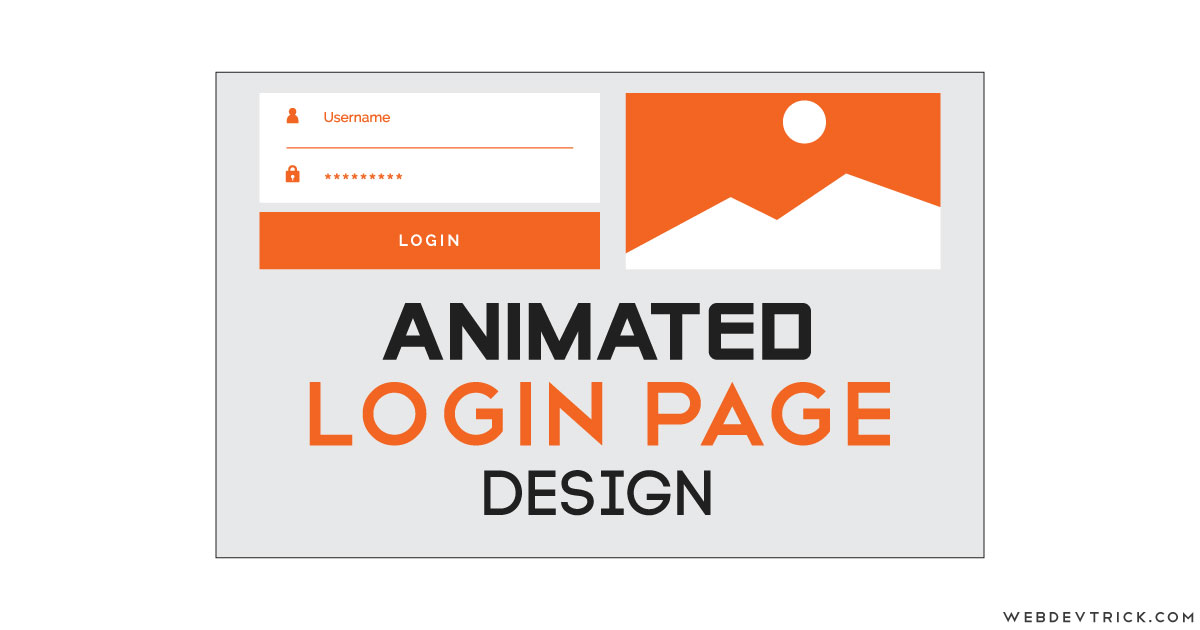
How we can create an animated login page design using HTML and CSS? Solution: Animated Login Page In HTML CSS, Example and Source Code.
Previous I have shared many login forms, but this time is for the whole page design. If any website has membership or user feature, then they probably have a separate login page. Mostly other useful links like sign up, forgot passwords, etc page’s direction available on the login page. If you have a login page or planning to create then you take inspiration from this post.
Today you will learn to create a login page with image and animation using pure HTML & CSS. There is an image, a form, and some texts, they all have an animation effect. You can modify it according to your requirement. I know this is simple work, but one of my visitors asks me for creating this.
So, Today I am sharing Animated Login Page In HTML CSS. I have used pure CSS for creating all the animation effects, delay, etc. You can switch the position of form and image very easily, you just have to change values or change the class name. The image I have used in this design is very large in size, maybe you have to wait sometime see live.
If you are thinking now how this animated login page actually is, then see the preview given below.
Preview Of The Page Design
See this video preview to getting an idea of how this design looks like.
Now you can see this visually, also there is a button above for live view and test. If you like this, then get the source code of its.
You May Also Like:
Animated Login Page In HTML CSS Source Code
Before sharing source code, let’s talk about it. Simply I have created the main div with class name ‘container‘. After that, I have places headings, form, image, etc. In all elements, I have put an extra class for animation-delay. In animation-delay, I have just increased the time step by step. Like if the first class has 2s of animation delay, then the second one has 2.1s.
As you can see the animation in the preview, for creating this I have used CSS animation-delay and @keyframe (info) properties. All the things are ver basics part of HTML and CSS. There is nothing special to explain, You will understand easily after getting the codes.
For creating this page design you have to create only 2 files, one for HTML and one for CSS. Follow the steps to creating this without any error.
index.html
Create an HTML file named ‘index.html‘ and put these codes given here below.
|
1 2 3 4 5 6 7 8 9 10 11 12 13 14 15 16 17 18 19 20 21 22 23 24 25 26 27 28 29 |
<!DOCTYPE html> <!-- Code By Webdevtrick ( https://webdevtrick.com ) --> <html lang="en" > <head> <meta charset="UTF-8"> <title>Animated Login Page | Webdevtrick.com</title> <link href="https://fonts.googleapis.com/css?family=Rubik&display=swap" rel="stylesheet"> <link rel="stylesheet" href="style.css"> </head> <body> <div class="container"> <div class="left-section"> <div class="header"> <h1 class="animation a1">Welcome Back!</h1> <h4 class="animation a2">Log in for entering your membership dashboard.</h4> </div> <div class="form"> <input type="email" class="form-field animation a3" placeholder="Username"> <input type="password" class="form-field animation a4" placeholder="Password"> <p class="animation a5"><a href="#">Forgot Password</a></p> <button class="animation a6">LOGIN</button> </div> </div> <div class="right-section"></div> </div> </body> </html> |
style.css
Now create a CSS file named ‘style.css‘ and put these codes given here.
|
1 2 3 4 5 6 7 8 9 10 11 12 13 14 15 16 17 18 19 20 21 22 23 24 25 26 27 28 29 30 31 32 33 34 35 36 37 38 39 40 41 42 43 44 45 46 47 48 49 50 51 52 53 54 55 56 57 58 59 60 61 62 63 64 65 66 67 68 69 70 71 72 73 74 75 76 77 78 79 80 81 82 83 84 85 86 87 88 89 90 91 92 93 94 95 96 97 98 99 100 101 102 103 104 105 106 107 108 109 110 111 112 113 114 115 116 117 118 119 120 121 122 123 124 125 126 127 128 129 130 131 132 133 134 135 136 137 138 139 140 141 142 |
/** Code By Webdevtrick ( https://webdevtrick.com ) **/ * { box-sizing: border-box; } body { font-family: 'Rubik', sans-serif; margin: 0; padding: 0; } .container { display: flex; height: 100vh; } .left-section { overflow: hidden; display: flex; flex-wrap: wrap; flex-direction: column; justify-content: center; -webkit-animation-name: left-section; animation-name: left-section; -webkit-animation-duration: 1s; animation-duration: 1s; -webkit-animation-fill-mode: both; animation-fill-mode: both; -webkit-animation-delay: 1s; animation-delay: 1s; } .right-section { flex: 1; background: linear-gradient(to right, #f50629 0%, #fd9d08 100%); transition: 1s; background-image: url(https://webdevtrick.com/wp-content/uploads/login-page-image.jpg); background-size: cover; background-repeat: no-repeat; background-position: center; } .header > h1 { margin: 0; color: #f50629; } .header > h4 { margin-top: 10px; font-weight: normal; font-size: 15px; color: rgba(0, 0, 0, 0.4); } .form { max-width: 80%; display: flex; flex-direction: column; } .form > p { text-align: right; } .form > p > a { color: #000; font-size: 14px; } .form-field { height: 46px; padding: 0 16px; border: 2px solid #ddd; border-radius: 4px; font-family: 'Rubik', sans-serif; outline: 0; transition: .2s; margin-top: 20px; } .form-field:focus { border-color: #0f7ef1; } .form > button { padding: 12px 10px; border: 0; background: linear-gradient(to right, #f50629 0%, #fd9d08 100%); border-radius: 3px; margin-top: 10px; color: #fff; letter-spacing: 1px; font-family: 'Rubik', sans-serif; } .animation { -webkit-animation-name: move; animation-name: move; -webkit-animation-duration: .4s; animation-duration: .4s; -webkit-animation-fill-mode: both; animation-fill-mode: both; -webkit-animation-delay: 2s; animation-delay: 2s; } .a1 { -webkit-animation-delay: 2s; animation-delay: 2s; } .a2 { -webkit-animation-delay: 2.1s; animation-delay: 2.1s; } .a3 { -webkit-animation-delay: 2.2s; animation-delay: 2.2s; } .a4 { -webkit-animation-delay: 2.3s; animation-delay: 2.3s; } .a5 { -webkit-animation-delay: 2.4s; animation-delay: 2.4s; } .a6 { -webkit-animation-delay: 2.5s; animation-delay: 2.5s; } @keyframes move { 0% { opacity: 0; visibility: hidden; -webkit-transform: translateY(-40px); transform: translateY(-40px); } 100% { opacity: 1; visibility: visible; -webkit-transform: translateY(0); transform: translateY(0); } } @keyframes left-section { 0% { opacity: 0; width: 0; } 100% { opacity: 1; padding: 20px 40px; width: 440px; } } |
That’s It. Now you have successfully created Animated Login Page In HTML CSS Example and Source Code. If you have any doubt or question comment down below.
Thanks For Visiting, Keep Visiting.


It doesn’t work properly for mobile,while pressing on username input the screen magnifies but loses focus from main credentials part which is bad
This is not responsive, If you want I can create it responsive
Hello Shaan,
Would you please share the responsive version?
Thanks in advance…
Sure I will post soon.
Please post the code for responsive login form.
Hi ,
I swapped the left-section and right section but it is not working.
Please let me know the changes if I want to show login column at the right side.
Hi,
This is giving issue in IE 10 and below.
PLease let me know what is the fix.
use -ms- before css properties
not working…
how to change the image?
Love this login form…I also love this Login Form
[…] Animated Login Page In HTML CSS Example and Source Code […]
[…] Animated Login Page In HTML CSS Example and Source Code […]
[…] Animated Login Page In HTML CSS Example and Source Code […]
[…] Animated Login Page In HTML CSS Example and Source Code […]
[…] Animated Login Page In HTML CSS Example and Source Code […]
[…] 17. Animated Login Page In HTML CSS | Example and Source Code […]
[…] Animated Login Page In HTML CSS Example and Source Code […]
[…] Animated Login Page In HTML CSS Example and Source Code […]
[…] Animated Login Page In HTML CSS Example and Source Code […]
[…] Animated Login Page In HTML CSS Example and Source Code […]
[…] Animated Login Page In HTML CSS – webdevtrick.com […]
[…] » Visit Now Aug 07, 2019 · How we can create an animated login page design using HTML and CSS? Solution: Animated Login Page In HTML CSS, Example and Source Code. Previous I have shared many login forms, but this time is for the whole page design. If any website has membership or user feature, then they probably have a separate login page.Author: Shaan […]
[…] » Visit Now Aug 07, 2019 · Solution: Animated Login Page In HTML CSS, Example and Source Code. Previous I have shared many login forms, but this time is for the whole page design. If any website has membership or user feature, then they probably have a separate login page.Author: Shaan […]
[…] » Visit Now Aug 07, 2019 · How we can create an animated login page design using HTML and CSS? Solution: Animated Login Page In HTML CSS, Example and Source Code. Previous I have shared many login forms, but this time is for the whole page design. If any website has membership or user feature, then they probably have a separate login page.Author: Shaan […]
[…] Developers & designers are using these free bootstrap login page templates when creating a website or web app. To save your time on your project, we have created many creative free html5 login page templates that built-in bootstrap. All these responsive login form designs are free to use for your next project. Using any of the below templates … https://webdevtrick.com › animated-login-page-html-css […]
[…] » Visit Now Aug 07, 2019 · How we can create an animated login page design using HTML and CSS? Solution: Animated Login Page In HTML CSS, Example and Source Code. Previous I have shared many login forms, but this time is for the whole page design. If any website has membership or user feature, then they probably have a separate login page.Author: Shaan […]